15 Beautiful Natural Curly Hairstyles and Trendy Ideas
Remember that moment when you finally stopped fighting your curls and embraced them? Yeah, that was my turning point too.
After years of heat damage and countless hours wrestling with flat irons, I discovered that natural curly hairstyles aren’t just easier – they’re absolutely stunning when you know what you’re doing.
Let’s be real here: curly hair gets a bad rap for being “difficult” or “unmanageable.” But honestly? That’s just because most of us grew up without proper curl education.
Once you master these 15 natural curly hairstyles, you’ll wonder why you ever wanted straight hair in the first place. Trust me, your curls are about to become your favorite feature.
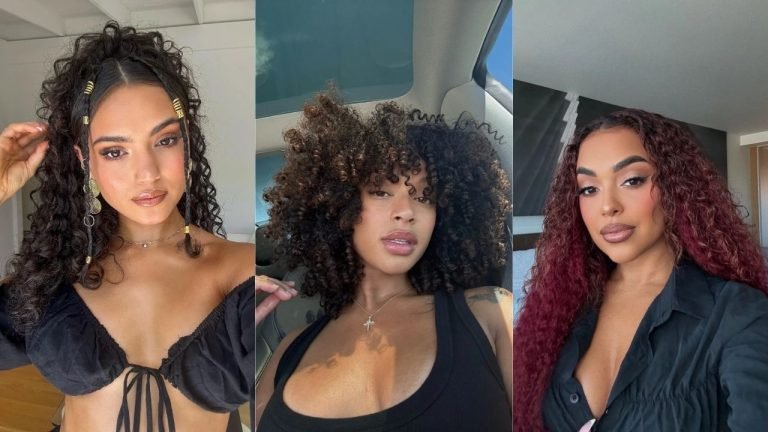
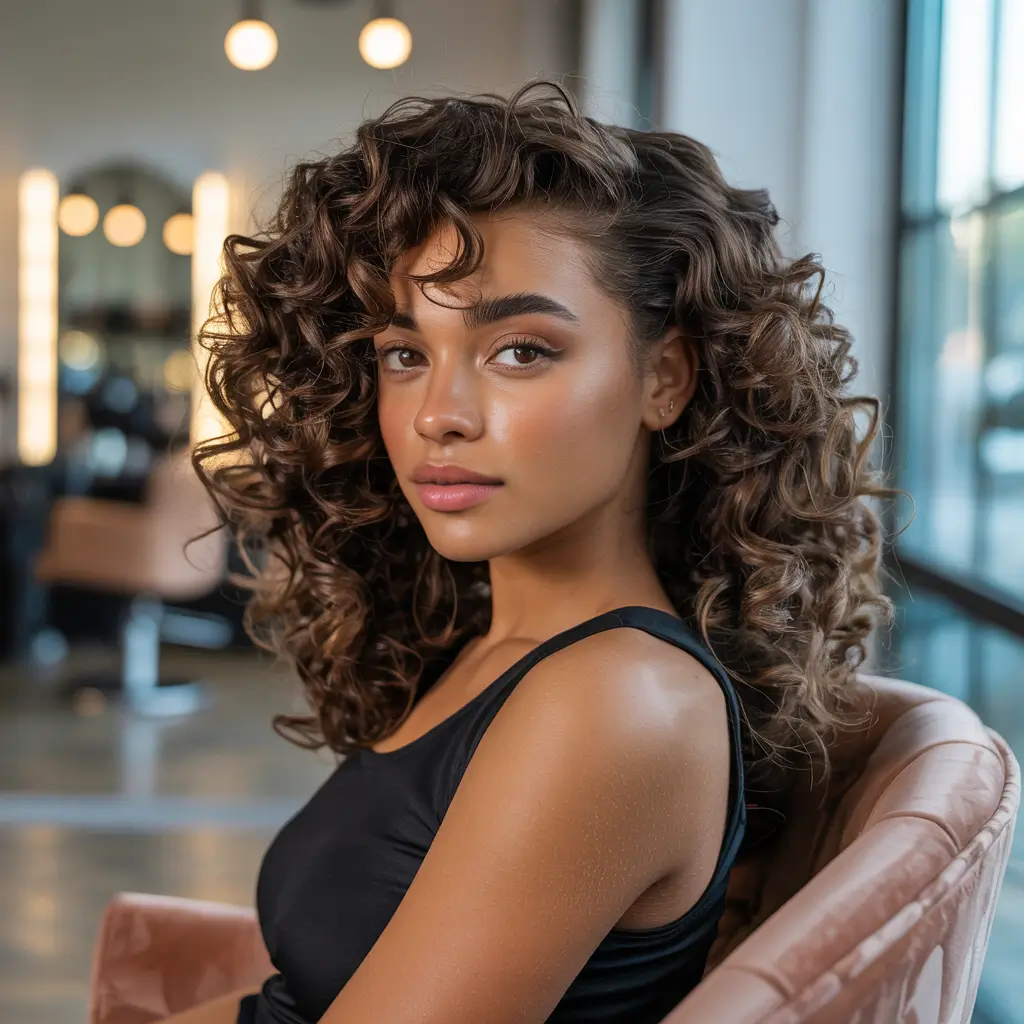
The Classic Wash-and-Go
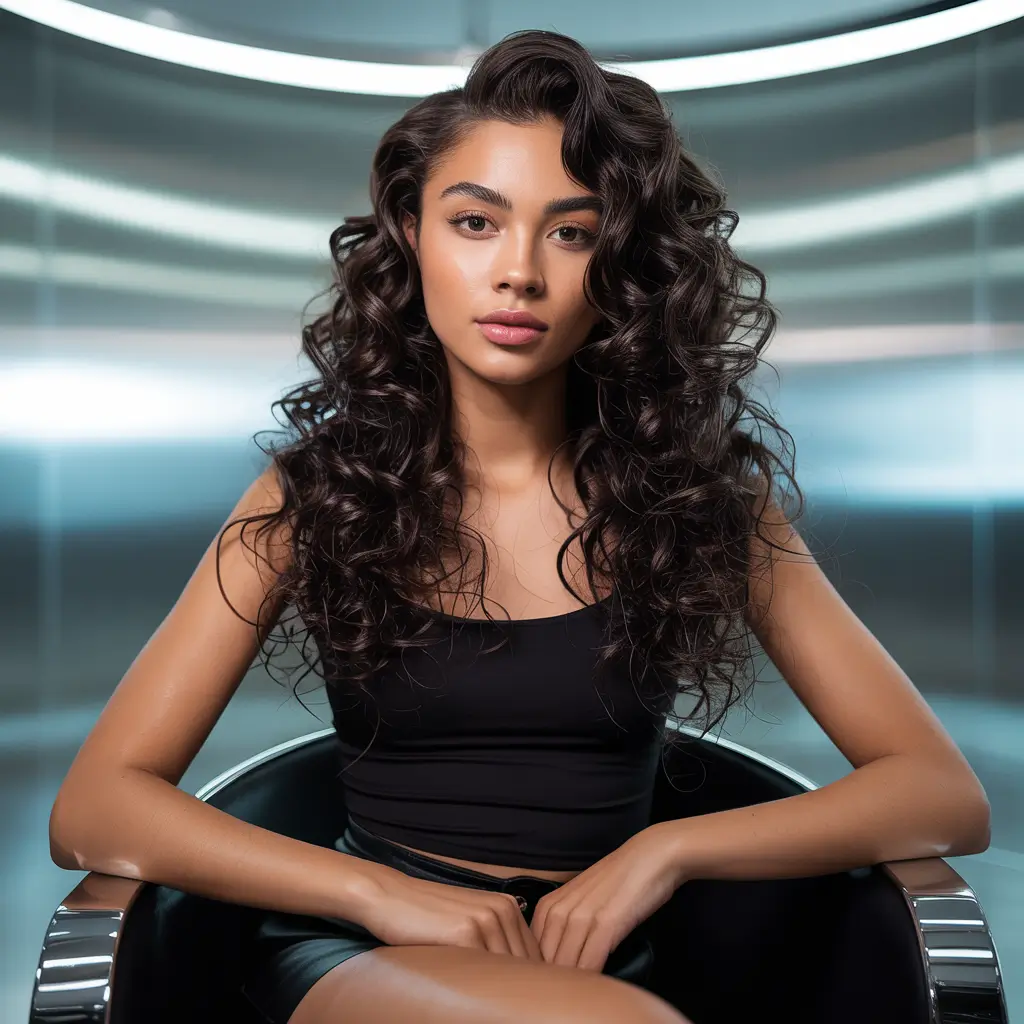
The wash-and-go is the holy grail of natural curly hairstyles. It sounds simple, but nailing this look takes some serious technique. You wash your hair, apply your products, and let your curls do their thing – except there’s way more to it than that.
I spent months perfecting my wash-and-go routine, and here’s what actually works. First, you need to understand that product application is everything. Apply your leave-in conditioner to soaking wet hair, then scrunch in your curl cream or gel. The water helps distribute the product evenly and prevents that crunchy, producty look we all hate.
The secret sauce? Don’t touch your curls while they dry. I know it’s tempting to keep scrunching and adjusting, but hands off! Let them form their natural pattern without interference. Once they’re completely dry, you can scrunch out any gel cast for soft, bouncy curls.
Pro Tips for Perfect Wash-and-Go:
- Section your hair for even product distribution
- Use the “praying hands” method for smoother curls
- Air dry or diffuse on low heat
- Sleep with a satin bonnet to preserve the style
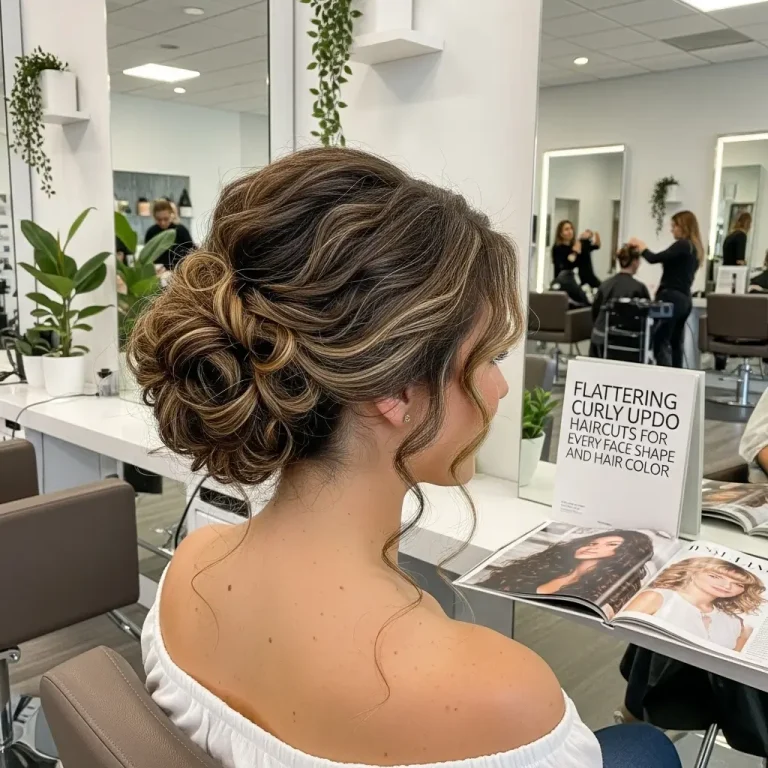
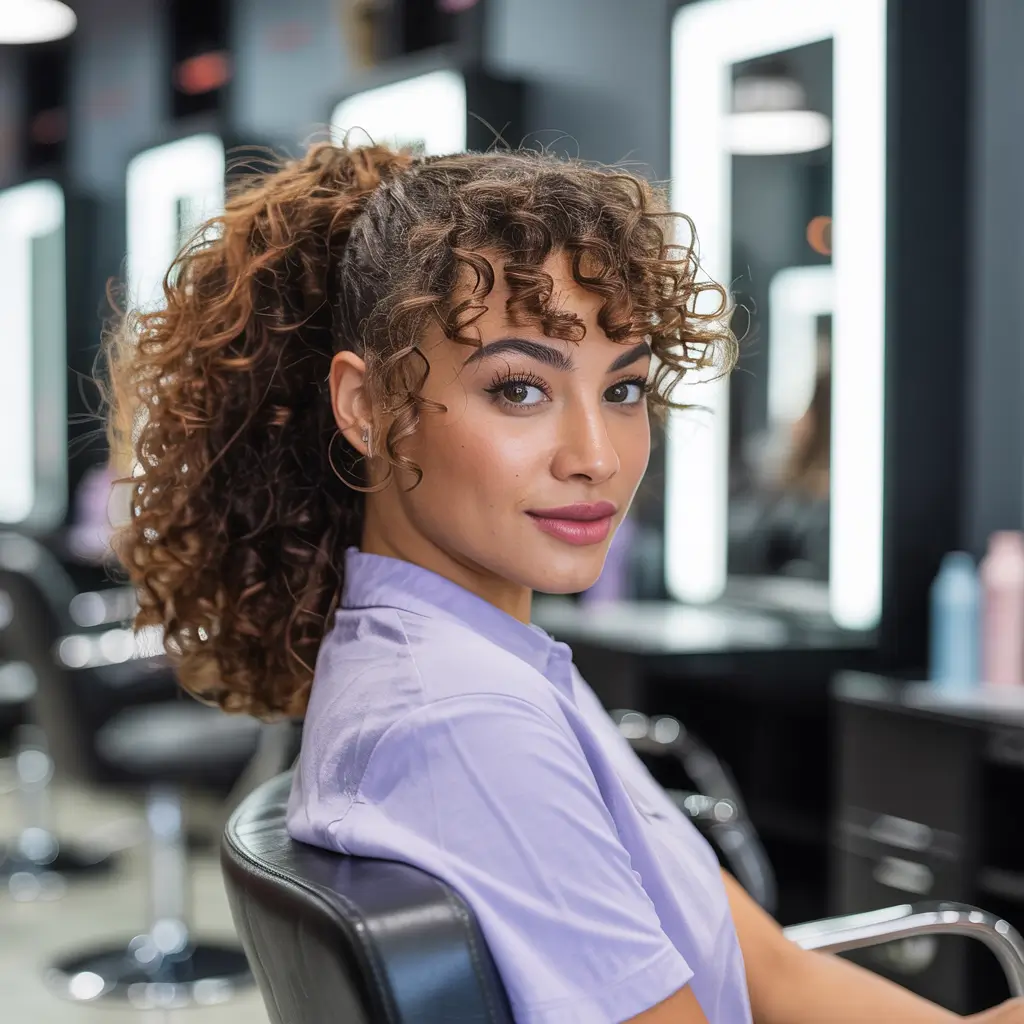
The Pineapple Updo
Who came up with this name? Genius, that’s who. The pineapple updo is literally the easiest protective style for curly hair, and it looks adorable to boot. You gather all your curls at the very top of your head, creating this fountain effect that actually resembles a pineapple.
This style saves my mornings constantly. You know those days when your curls are doing everything except cooperating? The pineapple updo rescues you every single time. Plus, it protects your curl pattern while you sleep, which means better hair days overall.
The key is using a silk or satin scrunchie – never those terrible elastic bands that create dents and breakage. Position the ponytail right at your crown, letting the curls cascade forward and around your face. Instant volume, zero effort.
The Defined Twist-Out
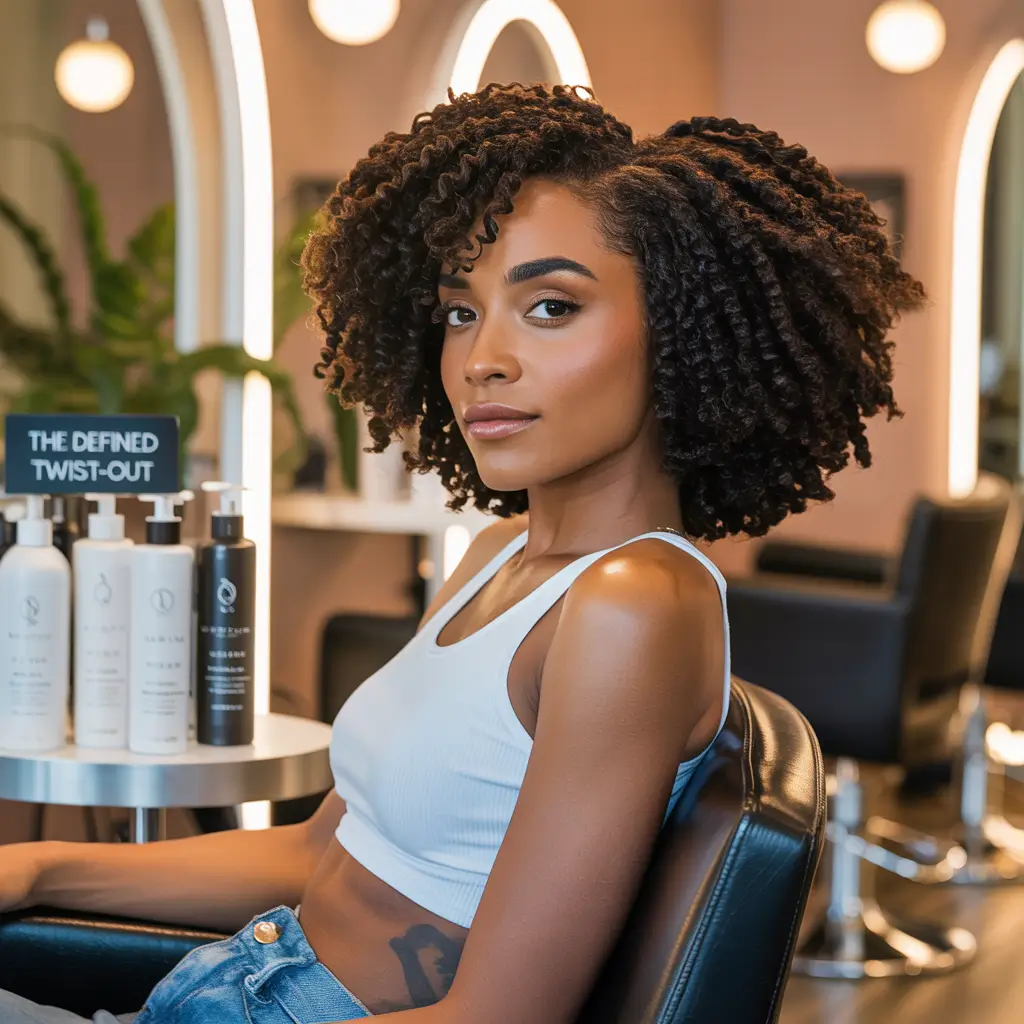
Twist-outs create the most gorgeous, uniform curl pattern you’ve ever seen. They work on every curl type, from loose waves to tight coils, and the results last for days. This style literally changed my curl game forever.
Here’s how you nail it: start with damp (not soaking) hair and section it into manageable pieces. Apply your styling cream, then twist each section tightly from root to tip. The smaller the sections, the more defined your curls will be. I usually do about 15-20 twists for my shoulder-length hair.
Let those twists dry completely – and I mean completely. Unraveling damp twists leads to frizz city, and nobody wants that. Once dry, carefully unravel each twist and separate gently for volume. The result? Perfectly defined, elongated curls that look like you spent hours at the salon.
The Curly Shag
The curly shag is having a major moment, and honestly, it deserves all the hype. This layered, textured cut brings out the best in natural curls while giving you that effortlessly cool vibe. Think 70s rock star meets modern minimalist.
What makes the curly shag so special? The layers create natural volume and movement without any styling effort. Your curls basically style themselves into this perfectly imperfect shape. I got my first shag cut last year, and my morning routine went from 30 minutes to literally 5.
The cut works because it follows your curl pattern rather than fighting against it. Each layer bounces at its own level, creating this gorgeous cascading effect. Just scrunch in some lightweight mousse and you’re good to go.
Best Face Shapes for Curly Shag:
- Oval faces: Lucky you, any shag variation works
- Round faces: Ask for longer layers to elongate
- Square faces: Soft, wispy bangs balance strong jawlines
- Heart-shaped faces: Focus volume at the bottom for balance
The Half-Up Space Buns
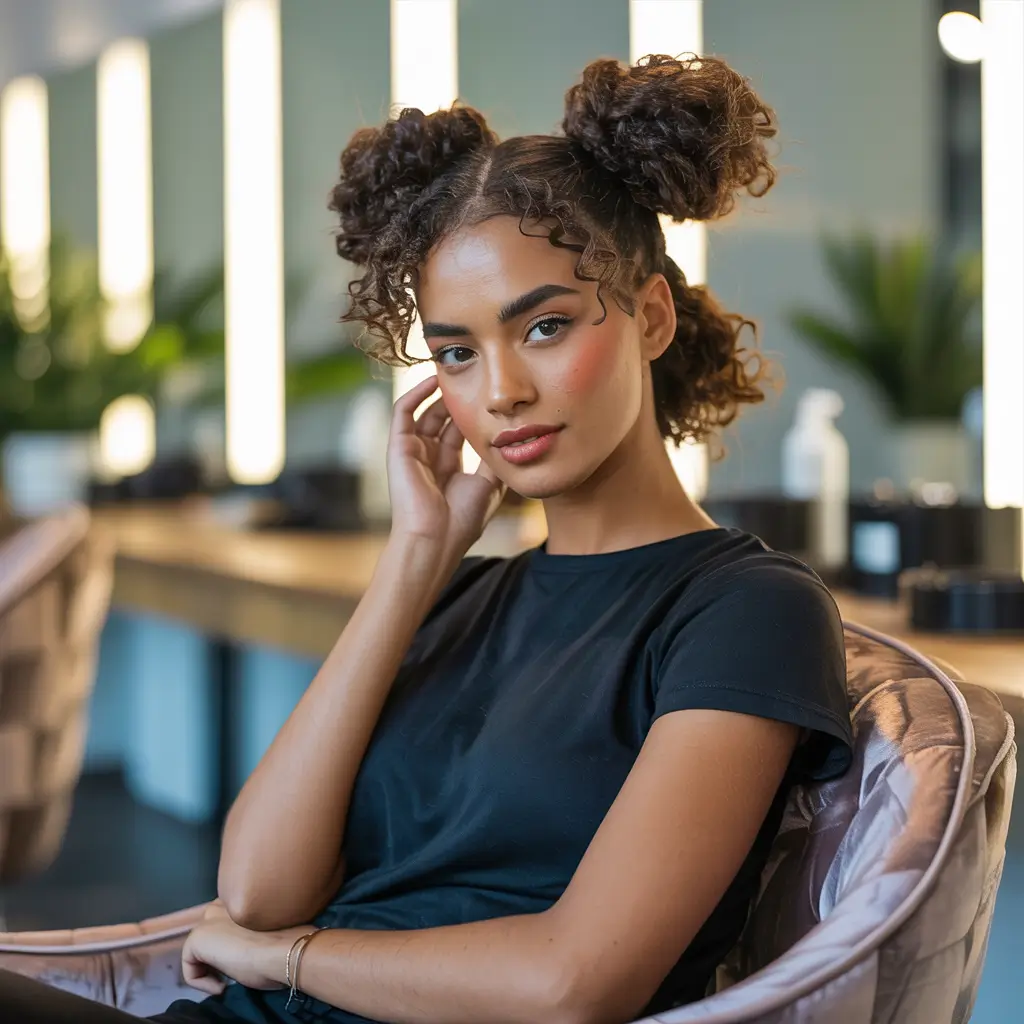
Space buns on curly hair hit different, and I mean that in the best way possible. This playful style keeps hair out of your face while showing off your natural texture and volume. Plus, you feel like a cute alien princess, which is always a vibe.
The trick with curly space buns is embracing the messiness. Don’t try to make them perfect – the charm comes from those curly pieces sticking out everywhere. Part your hair horizontally from ear to ear, then create two high buns with the top section. Leave the bottom curls flowing free.
I love this style for festivals, casual weekends, or when you want to feel playful. Add some metallic hair rings or colorful scrunchies for extra personality. The best part? When you take them down, you get amazing volume and texture for a completely different look.
The Bantu Knots
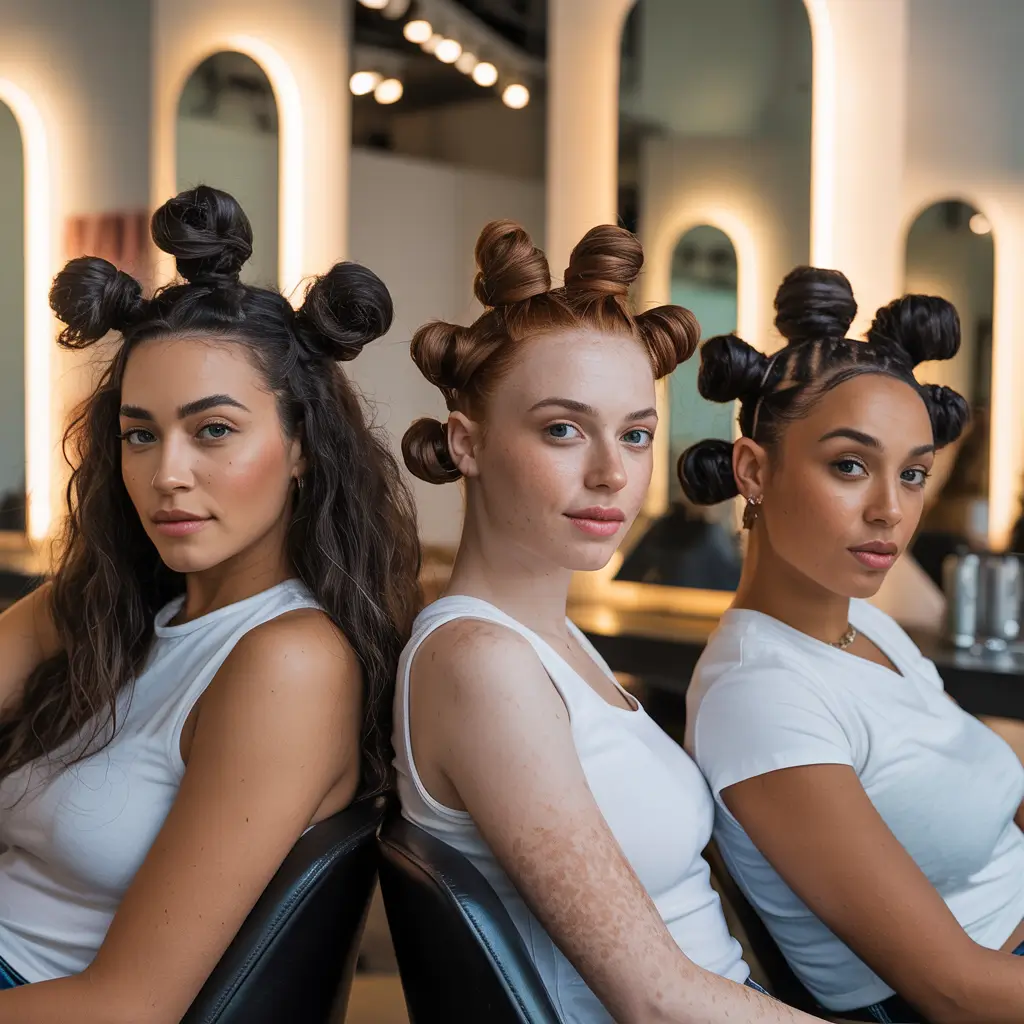
Bantu knots are both a protective style and a styling method – talk about multitasking! These small, coiled buns scattered across your head look absolutely stunning and create incredible curl definition when you take them down.
Creating Bantu knots takes patience, but the results are worth it. Section your damp hair into small squares or triangles, apply your styling product, then twist each section and wrap it into a tight knot. Secure with bobby pins if needed, though properly done knots should hold themselves.
You can rock the knots as a style themselves (they look amazing!) or unravel them after drying for a gorgeous knot-out. The curl pattern you get from Bantu knots is unlike anything else – super defined, springy coils that last for days.
The Curly Mohawk
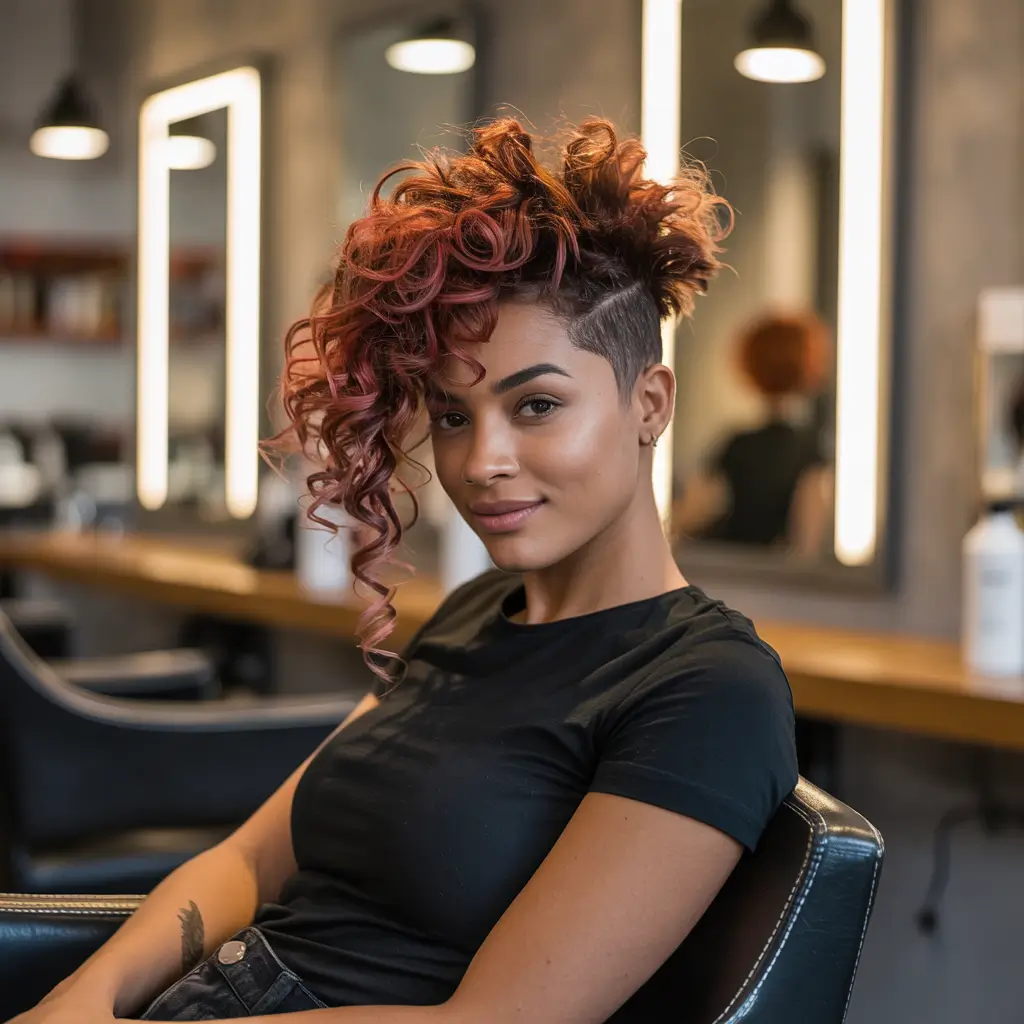
Don’t let the name intimidate you – the curly mohawk is surprisingly wearable and incredibly flattering. You create height and drama at the center while keeping the sides sleek or pinned back. It’s edgy without being extreme.
I accidentally discovered this style trying to manage a bad hair day, and now it’s my go-to for special events. Pin the sides back with bobby pins, leaving a strip of curls from forehead to nape. Fluff and shape the center section for maximum height and drama.
The curly mohawk works especially well for medium to tight curl patterns because the natural volume creates that dramatic silhouette. Add some edge with metallic bobby pins or keep it soft with invisible pins. Either way, you’ll turn heads.
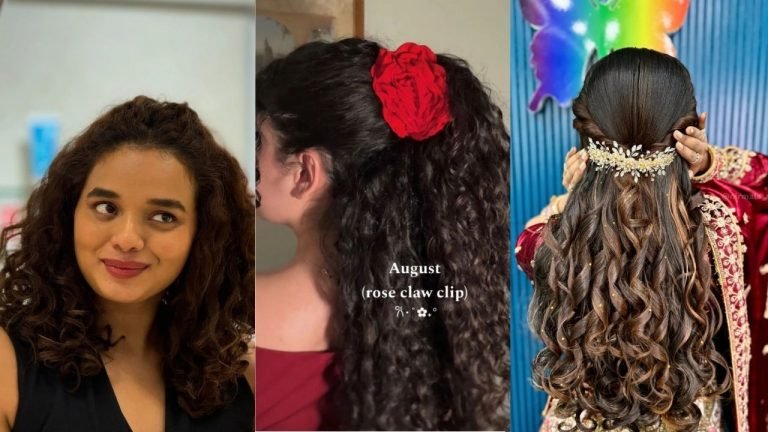
The Braided Crown
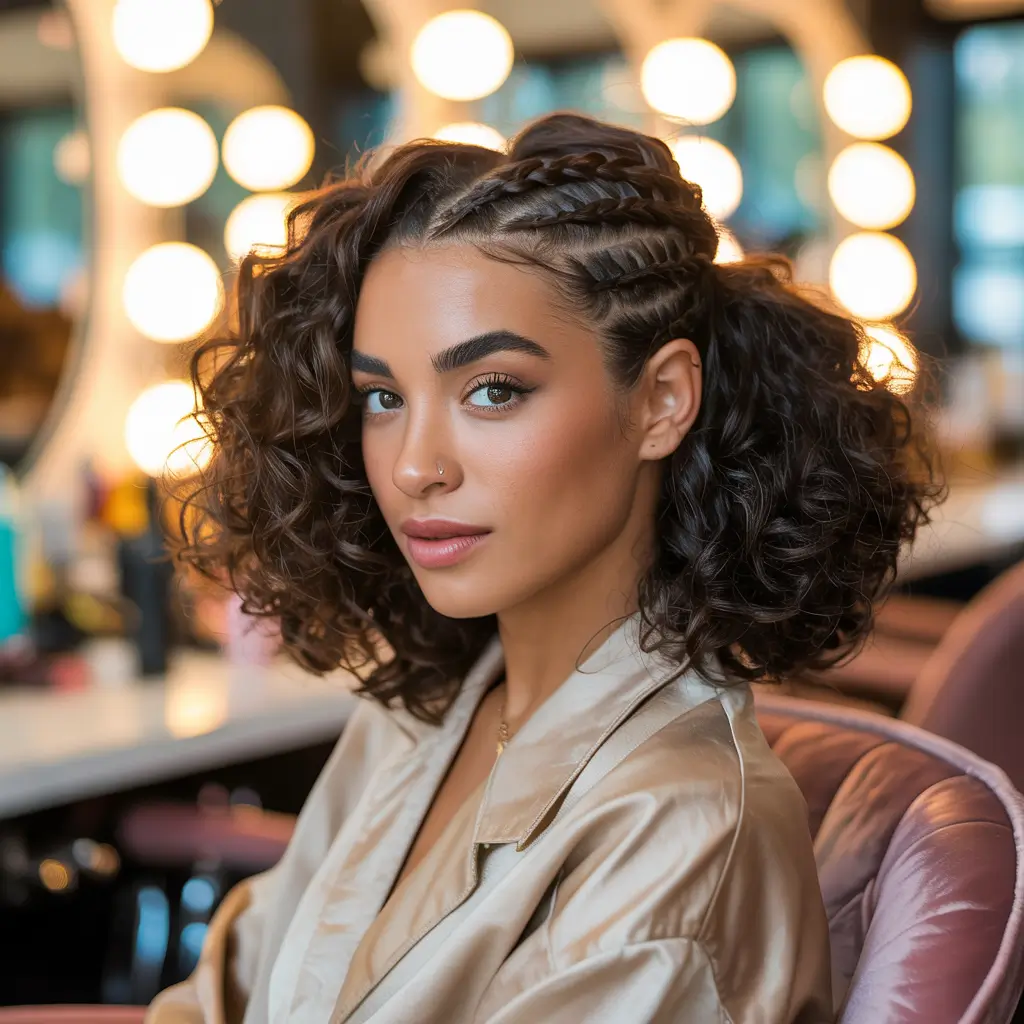
The braided crown combines the elegance of braids with the wild beauty of natural curls. You create a braid that wraps around your head like a crown, while the rest of your curls flow freely. It’s giving goddess vibes in the best way.
Start by creating a deep side part and begin a Dutch braid along your hairline. Continue braiding around your head, incorporating hair as you go. Once you reach the opposite ear, secure with a clear elastic and hide the end under the beginning of the braid. Let your remaining curls cascade down naturally.
This style keeps hair off your face while looking incredibly romantic and polished. Perfect for weddings, date nights, or when you want to feel extra special. Pro tip: gently tug at the braid edges to create a fuller, more relaxed look.
Braided Crown Variations:
- Single braid for a classic look
- Double braid for extra detail
- Fishtail braid for texture
- Rope braid for a unique twist
- Add flowers or pins for special occasions
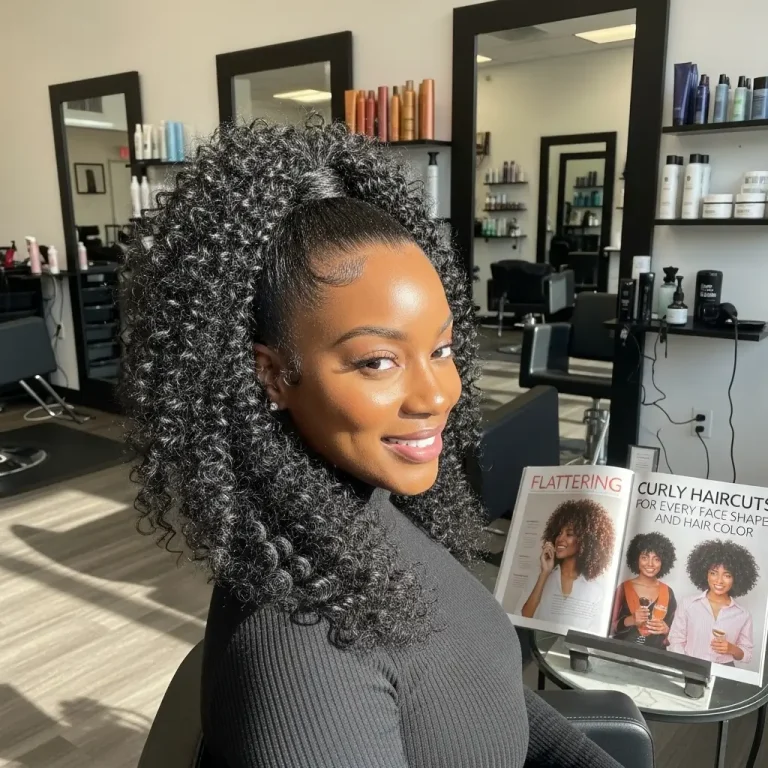
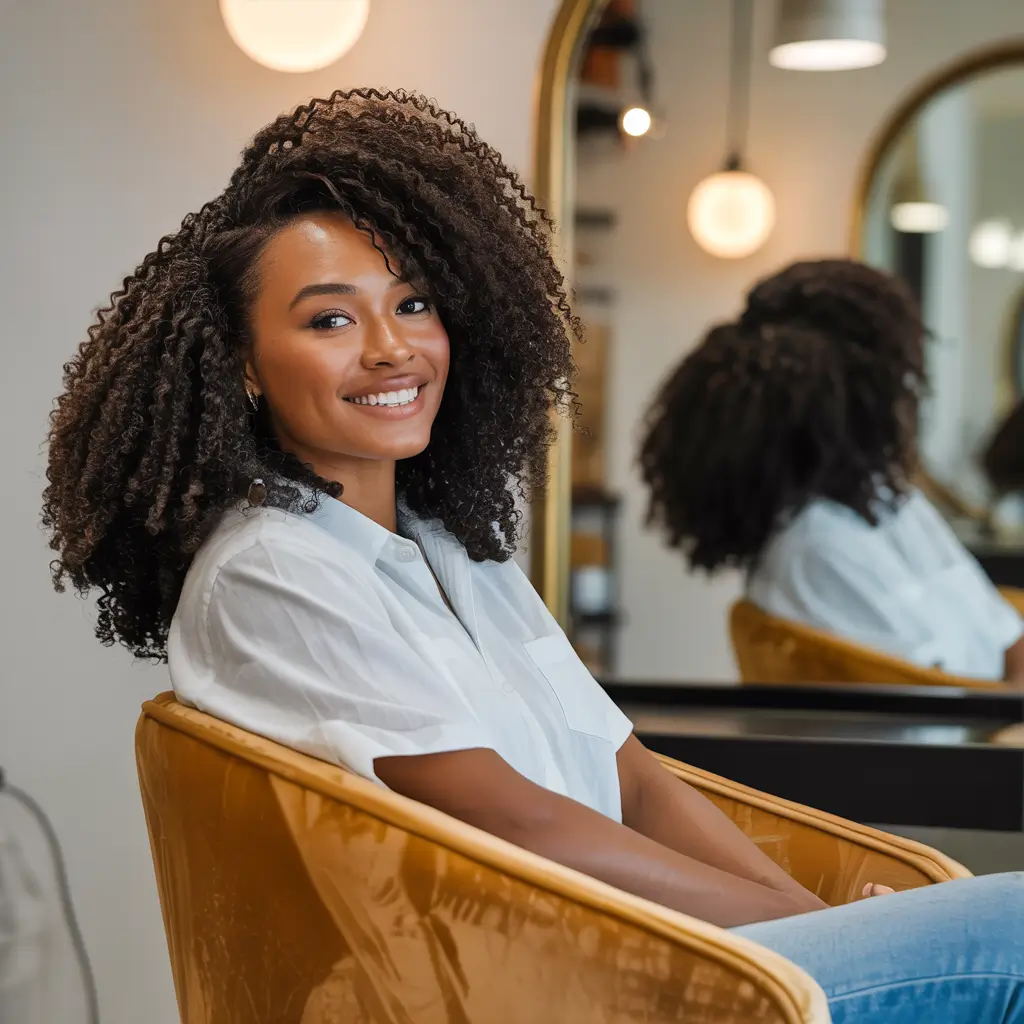
The Natural Afro
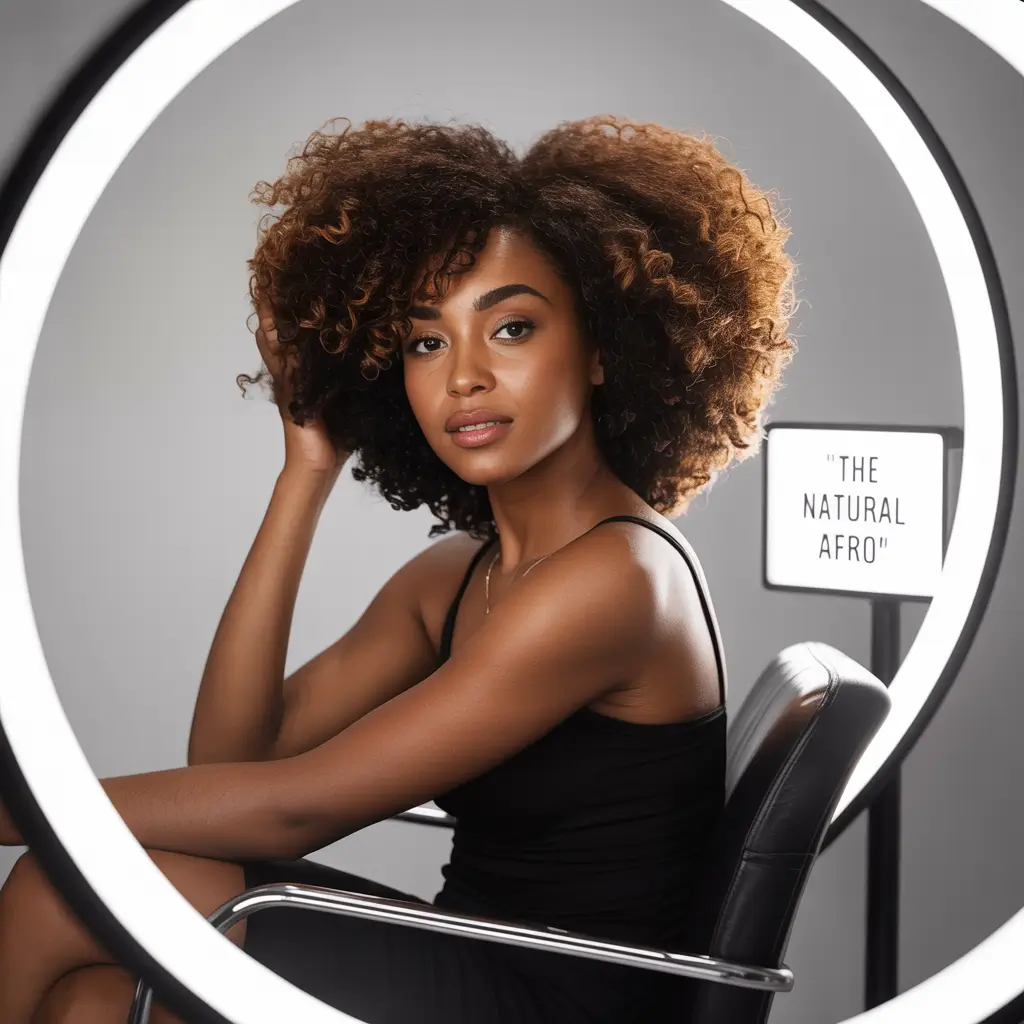
The afro is the ultimate celebration of natural texture. No hiding, no taming, just pure, glorious volume. Wearing your hair in its natural afro state makes a powerful statement about self-love and acceptance.
Getting that perfect afro shape requires the right technique. Start with well-moisturized hair and use a pick or your fingers to gently lift from the roots. Work in sections, creating even volume all around. The goal is a rounded, cloud-like shape that frames your face beautifully.
Don’t forget that afros need moisture, moisture, and more moisture. I spray mine with a water-based refresher throughout the day to maintain the shape and prevent dryness. The bigger the better, IMO!
The Curly Bob
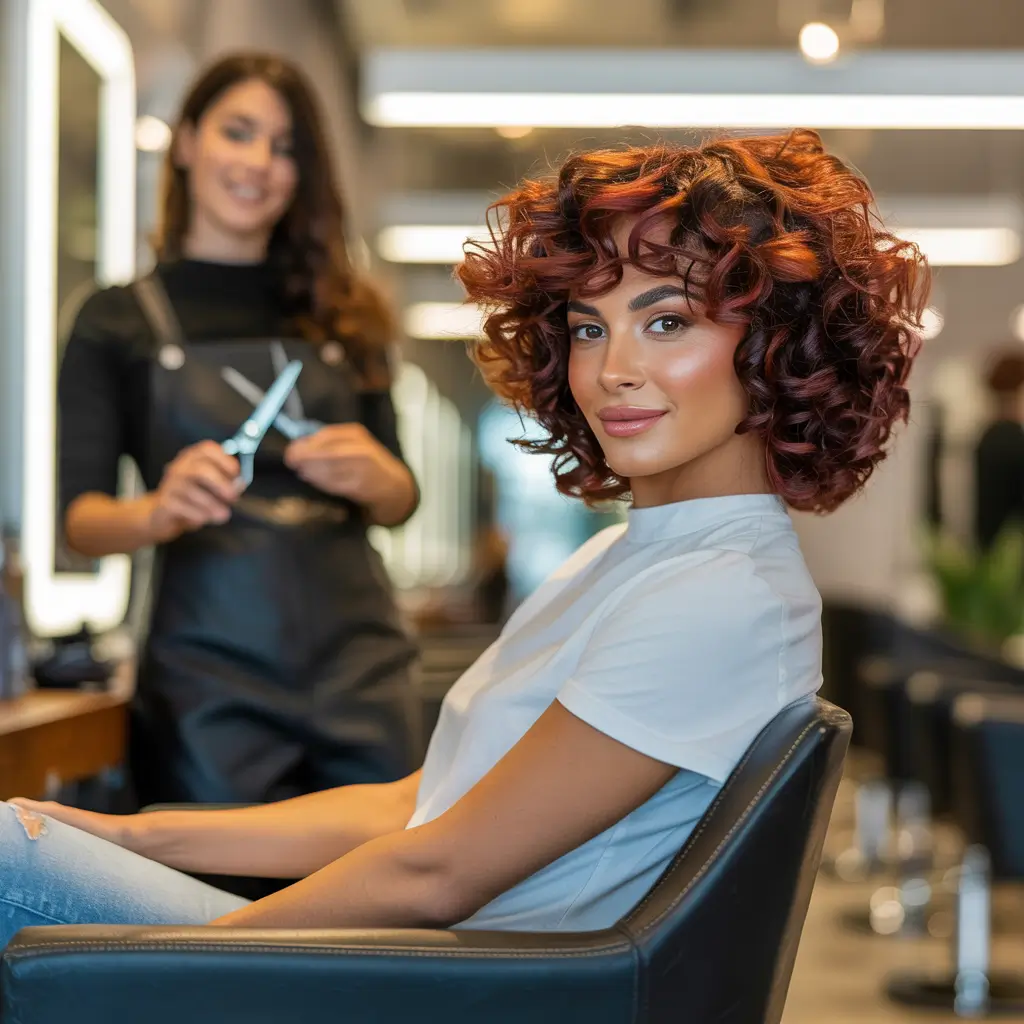
The curly bob is proof that short curly hair can be incredibly chic. This chin to shoulder-length cut shows off your curl pattern while being super manageable. Plus, the weight reduction often makes curls spring up even more.
What I love about curly bobs is their versatility. You can wear them sleek and defined for work, then mess them up for that undone, beachy vibe on weekends. The key is finding the right length – too short and you might get the dreaded triangle shape, too long and you lose that bouncy bob effect.
Ask your stylist for layers that enhance your natural curl pattern. Each curl type needs different layering techniques, so make sure they understand curly hair. A good curly bob practically styles itself.
The Side-Swept Curls
Sometimes simple wins, and side-swept curls prove it. This elegant style involves sweeping all your curls to one side, creating an asymmetrical look that’s both glamorous and effortless. Red carpet ready with minimal effort? Yes, please!
The trick is securing the swept side without creating weird dents or flatness. I use bobby pins that match my hair color, placing them strategically behind my ear. Create a deep side part first, then gradually move curls over throughout the day for a natural progression.
This style works beautifully for showing off statement earrings or a gorgeous neckline. Add a decorative clip or pin for extra glamour, or keep it simple for everyday elegance.
The Curly Ponytail
Forget those sleek, pulled-back ponytails – the curly ponytail is all about embracing volume and texture. This isn’t your gym ponytail; it’s a legitimate hairstyle that looks intentional and polished.
The secret to a great curly ponytail lies in the placement and preparation. Position it at the crown for maximum bounce, or go low for a more sophisticated vibe. Before securing, rake through your curls gently to maintain their shape without creating frizz.
Leave some curls loose around your face for softness, and don’t pull too tight – you want movement and bounce. Wrap a small section of hair around the elastic to hide it, and you’ve got an instantly elevated look.
The Finger Coils
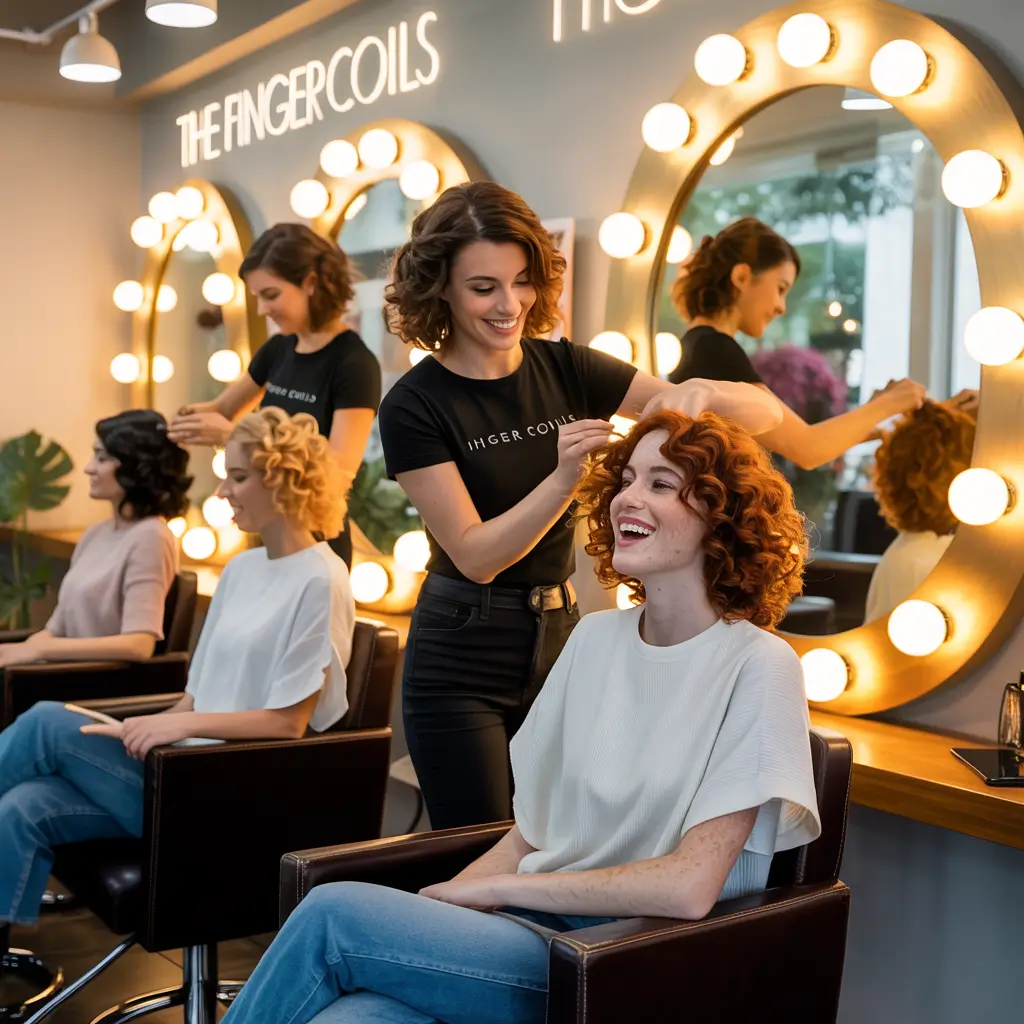
Finger coils create the most precise, uniform curl pattern imaginable. Each curl is individually formed around your finger, resulting in perfect spirals that look almost unreal. This style takes time, but the results last up to a week.
Working with small sections of damp hair, apply your styling product and wrap each section around your finger from root to tip. Slide your finger out carefully, maintaining the coil shape. The smaller the sections, the longer it lasts but the more time it takes.
I usually dedicate a Sunday afternoon to finger coiling while binge-watching Netflix. The meditative process is actually quite relaxing, and the compliments you get make it totally worth the effort. Plus, as the coils loosen over the week, you get different looks without restyling.
Finger Coiling Tips:
- Start with stretched hair for length
- Use a holding gel for longevity
- Coil in the same direction for uniformity
- Don’t touch until completely dry
- Separate gently for volume
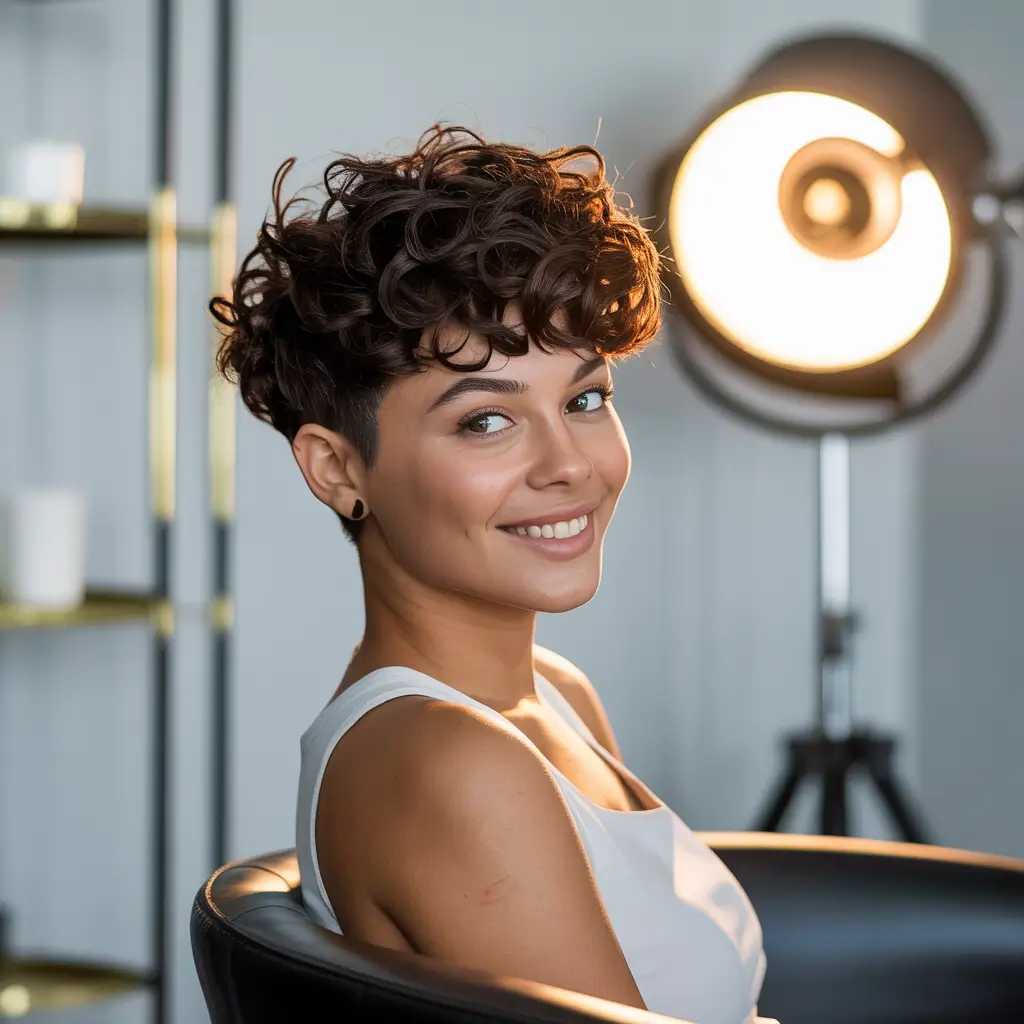
The Curly Pixie Cut
The curly pixie is bold, beautiful, and surprisingly low-maintenance. This super-short style showcases your facial features while letting your natural texture shine. Every morning is literally wash, product, and go.
What makes curly pixies special is how they challenge beauty standards. You’re saying “I don’t need long hair to be feminine or beautiful.” The confidence boost from rocking a curly pixie is real – I’ve never felt more myself than with short curls.
The cut requires regular maintenance to keep its shape, but daily styling is minimal. A little curl cream or mousse is all you need. The grow-out phase can be awkward, but regular trims keep it looking intentional rather than neglected.
The Wet Look Curls
The wet look gives you those fresh-out-of-the-ocean vibes all day long. Your curls look glossy, defined, and super hydrated – even hours after styling. It’s the perfect summer style that works year-round.
Achieving the wet look requires the right products. Skip the mousse and reach for gels or curl creams with serious hold and shine. Apply to soaking wet hair, scrunch, and don’t touch until dry. The key is using enough product to maintain that wet appearance without looking greasy.
Some people think the wet look is too much for everyday, but I disagree. It’s polished, defined, and keeps frizz at bay better than any other styling method. Plus, it photographs beautifully :/
Mastering Your Natural Curly Journey
There you have it – fifteen natural curly hairstyles that prove your texture is a gift, not a burden. Each style celebrates what makes curly hair unique: the volume, the movement, the personality. Your curls tell your story, and these styles help you tell it with confidence.
Remember, not every style will work for every curl type, and that’s okay. Experimenting is half the fun! Start with the ones that speak to you, adjust techniques for your specific texture, and don’t be afraid to make them your own. The best curly hairstyle is the one that makes you feel like yourself.
The journey to loving your natural curls isn’t always easy. Some days they cooperate, some days they don’t, and that’s perfectly normal. But once you find your signature styles and perfect your routine, you’ll wonder why anyone would want anything other than gorgeous, natural curls. Now go forth and let those curls bounce, coil, and spring their way into the world!