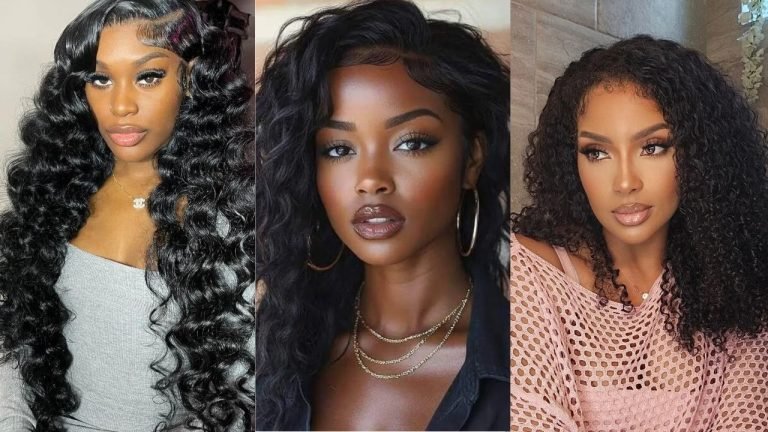
Curly Hairstyles for Black Women: 15 Stunning Looks You’ll Love
Girl, let me tell you something – finding the perfect curly hairstyle feels like striking gold, doesn’t it? After years of experimenting with my own 4C hair and watching countless YouTube tutorials at 2 AM (we’ve all been there), I’ve discovered that the right curly style can completely transform your look and confidence. Whether you’re rocking tight coils or loose spirals, these fifteen hairstyles will have you looking like the goddess you are.
Remember when everyone said natural hair was “too difficult” to manage? Yeah, we showed them. Today’s curly hairstyles for Black women celebrate texture, versatility, and pure creativity.
So grab your favorite leave-in conditioner and let’s talk about styles that actually work in real life – not just in those perfectly lit Instagram photos.
Defined Wash-and-Go Curls
The Holy Grail of Low-Maintenance Styles
You know what’s funny? People think wash-and-go curls happen magically with just water and prayer. Ha! A truly defined wash-and-go requires the right technique, products, and patience – but once you nail it, you’ll wonder why you ever bothered with anything else.
I learned the hard way that product application matters more than the products themselves. Start with soaking wet hair (I mean dripping), then apply your leave-in conditioner using the praying hands method.
Next comes your curl cream or gel – and here’s where most people mess up. Section your hair into smaller portions and rake the product through each section individually. This ensures every single curl gets coated properly.
The shingling method changed my wash-and-go game completely. Take small sections and smooth the product down each curl from root to tip.
Yes, it takes forever. Yes, your arms will hurt. But those poppin’ defined curls last for days, making the effort totally worth it.
Want to know the secret nobody talks about? Your drying method matters just as much as your application.
Air drying gives softer curls, while diffusing creates more volume and faster results. I personally diffuse on cool for 80% of the drying time, then let nature handle the rest.
Twist-Out Protective Style
The Weekend Warrior’s Best Friend
Ever notice how twist-outs look absolutely fire on everyone except you? Yeah, I felt that way too until I cracked the code. The perfect twist-out starts the night before, not the morning of your big presentation.
Here’s what nobody tells you: the size of your twists determines everything. Smaller twists create tighter, more defined curls that last longer.
Larger twists give you those gorgeous, stretched waves perfect for showing off length. I usually go medium-sized because, honestly, who has six hours to spend twisting hair?
The products you use make or break this style. A good moisturizing cream paired with a light hold gel creates that perfect balance between definition and movement.
Apply products to damp (not soaking) hair for the best results. Too wet and your twists won’t dry; too dry and you’ll get frizz city.
My game-changer tip? Don’t unravel those twists immediately when they feel dry. The inside might still be damp, and rushing will give you undefined, frizzy sections. Wait until your twists are 100% dry, then coat your fingers with a tiny bit of oil before carefully separating each twist.
High Puff with Headband Accessory

The Five-Minute Miracle Style
Can we talk about how the high puff saves lives on lazy mornings? This style literally takes five minutes but makes you look like you spent an hour getting ready. The high puff works on every curl pattern and every hair length above three inches.
The key to a bomb high puff lies in the preparation. Moisturize your hair thoroughly the night before – dry hair equals breakage when you’re pulling it up.
Use a spray bottle with water and leave-in conditioner to refresh your curls in the morning. Never attempt this style on bone-dry hair unless you want to hear that dreaded snapping sound.
Headband placement makes all the difference between cute and tragic. Position it about two inches from your hairline for that perfect face-framing effect.
Too close looks severe; too far back defeats the purpose. I keep multiple headbands in different colors because accessories transform this basic style into something special.
Pro tip: Use a satin-lined headband to prevent breakage and those annoying dents. Regular elastic bands are the enemy of healthy edges – trust me on this one.
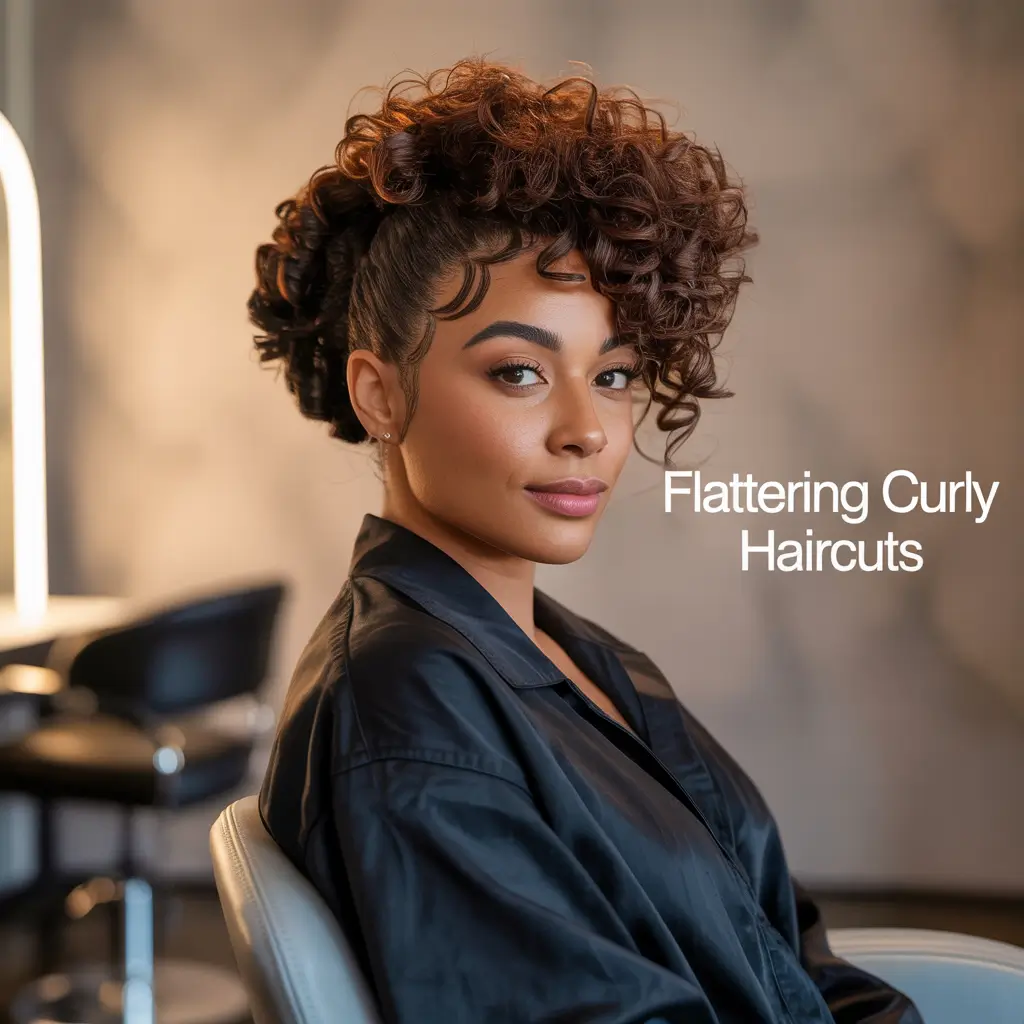
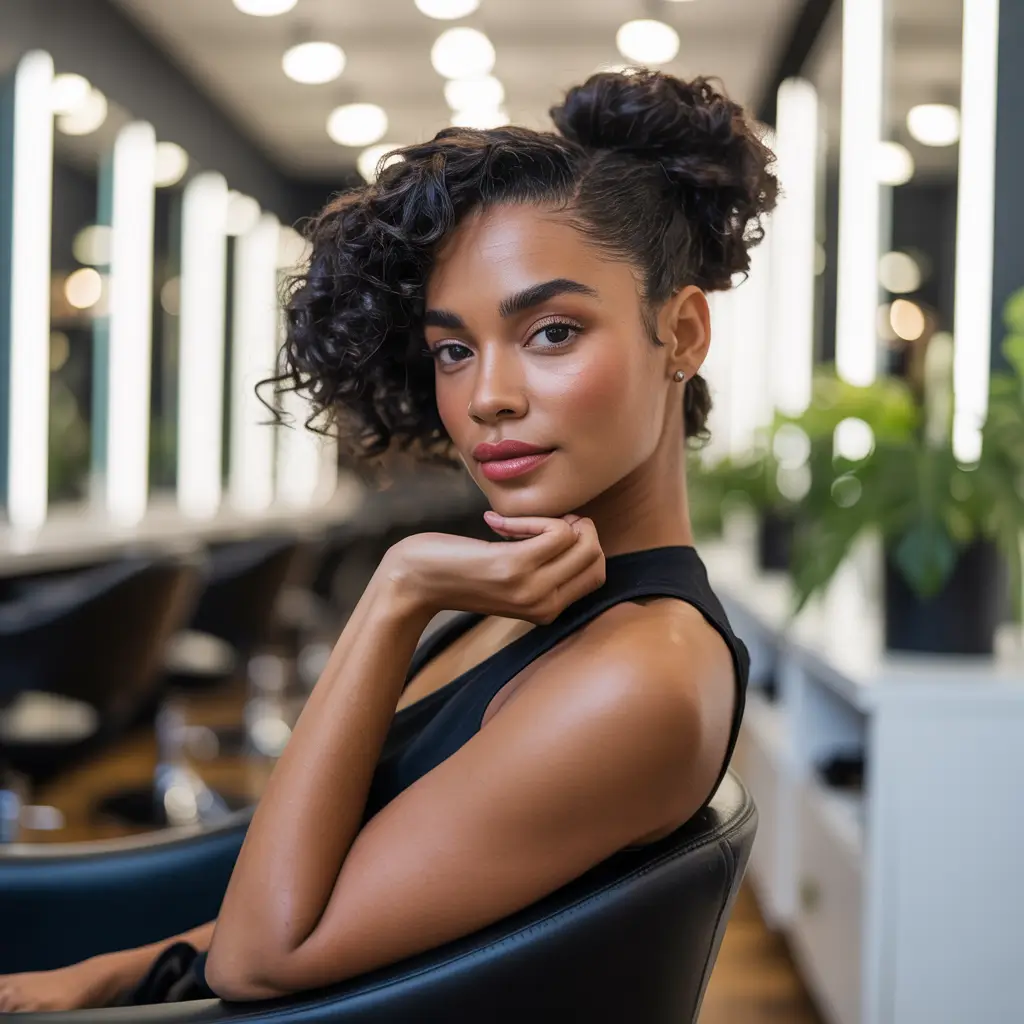
Curly Mohawk with Tapered Sides
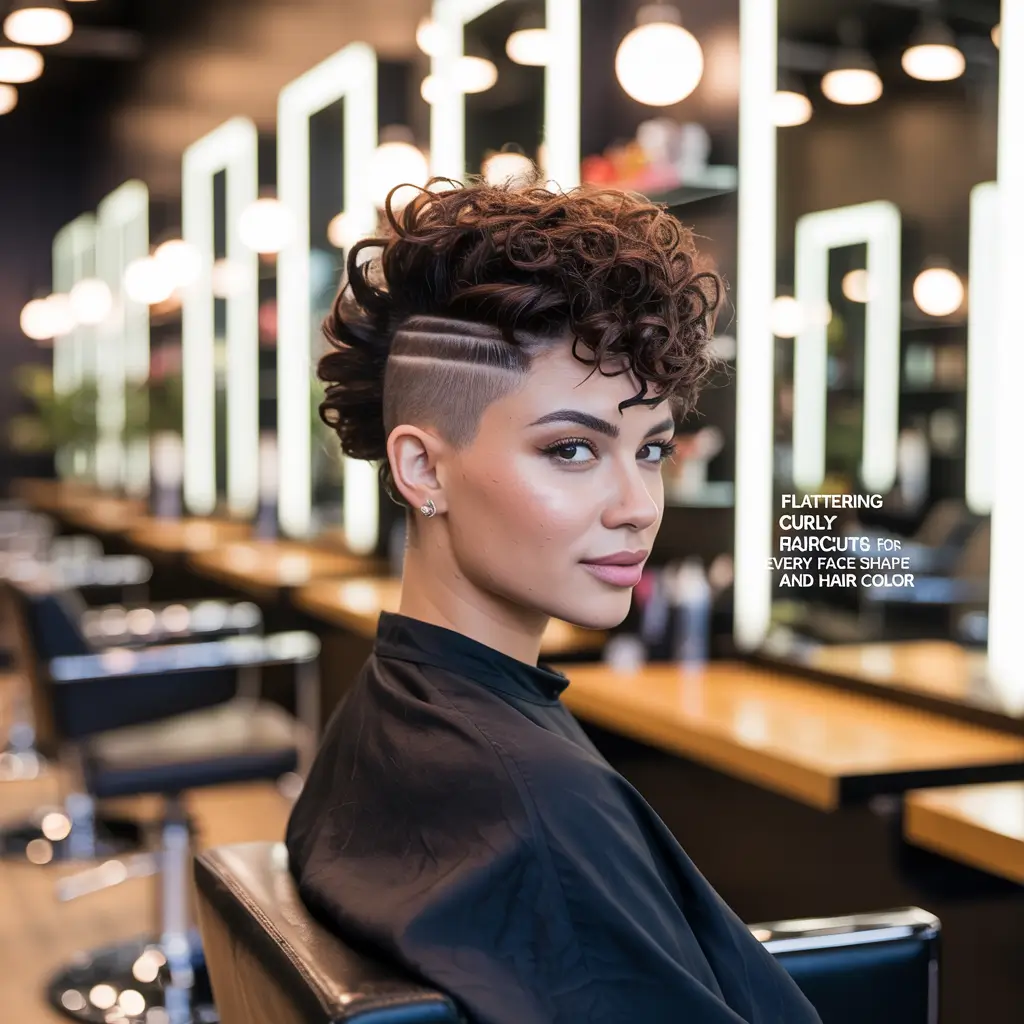
Bold, Beautiful, and Unapologetically You
Who says you need straight hair to rock a mohawk? The curly mohawk combines edge with elegance, giving you that “I mean business but I’m also fun” vibe.
This style works especially well for type 3 and 4 hair because the natural volume creates that perfect mohawk silhouette without tons of product.
Creating the perfect curly mohawk starts with the cut. Find a barber or stylist who understands natural hair – seriously, don’t let just anyone near your curls with clippers.
The sides should gradually taper from about a #2 guard at the bottom to longer lengths as you approach the center strip.
Styling the mohawk section requires strategy. Define your curls using your favorite curl cream, then use bobby pins to temporarily flatten the sides while your mohawk dries.
This creates maximum contrast and drama. Once everything sets, remove the pins and lightly pick the roots of your mohawk for extra height.
The maintenance isn’t as intense as people think. Touch up the tapered sides every 2-3 weeks, and keep the top moisturized to maintain those gorgeous curls. This style actually protects your hair since you’re not manipulating it daily.
Bantu Knots for Everyday Wear
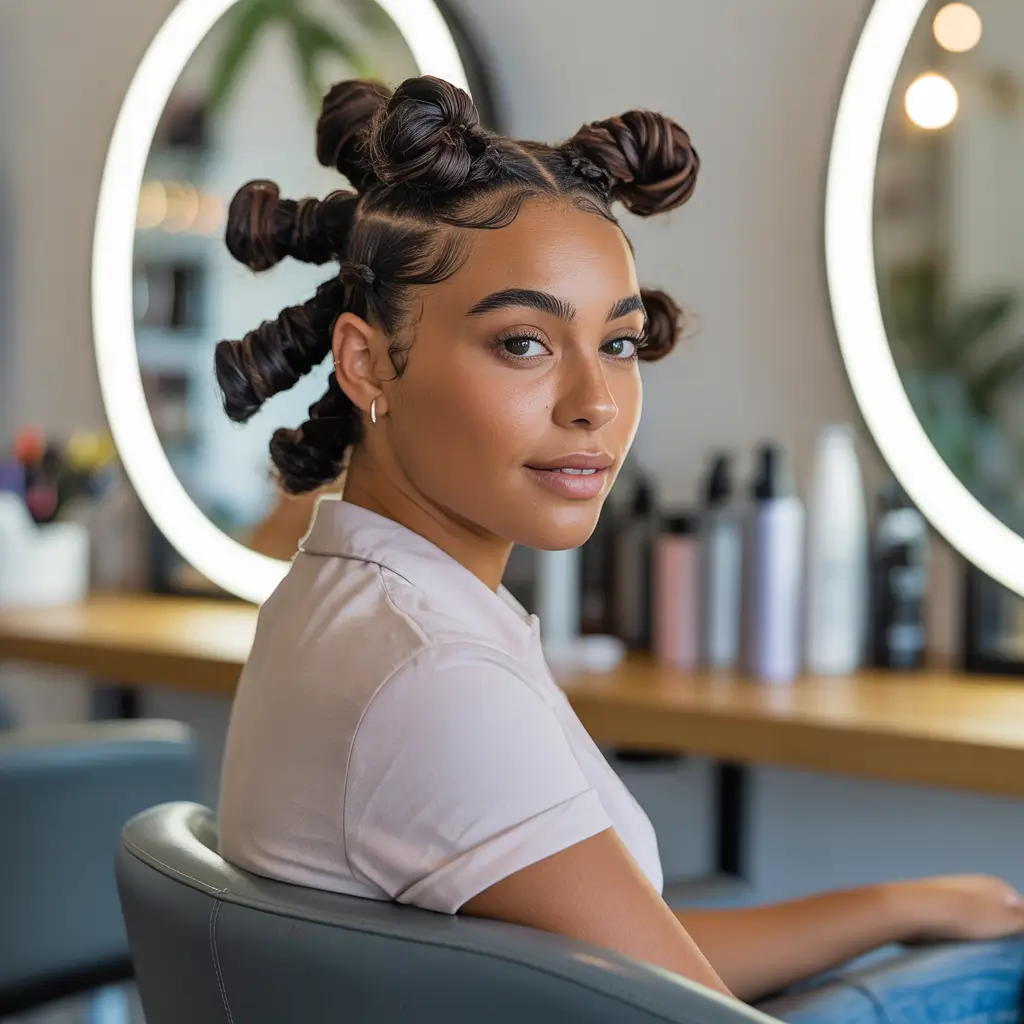
From Cultural Roots to Current Trends
Let’s be real – Bantu knots hit different when you wear them with confidence. This ancestral style has been blessing heads for centuries, and now it’s having its mainstream moment.
Bantu knots work as both a protective style and a method for creating gorgeous curls when you take them down.
The sectioning pattern determines your final look. Create triangular parts for an edgier vibe, or stick with classic squares for that traditional appearance.
I personally love combining different sized knots – larger ones in front, smaller ones in back – for visual interest.
Here’s where people usually mess up: twisting too loosely. Your knots need tension to stay put, but not so much that you’re pulling your edges out.
Twist each section firmly from root to tip, then wrap it around itself to form the knot. Secure with bobby pins that match your hair color.
Want to know my secret weapon? Edge control applied before twisting keeps everything sleek and prevents frizzy bits from escaping. Just don’t go overboard – too much product makes your knots look greasy instead of glossy.
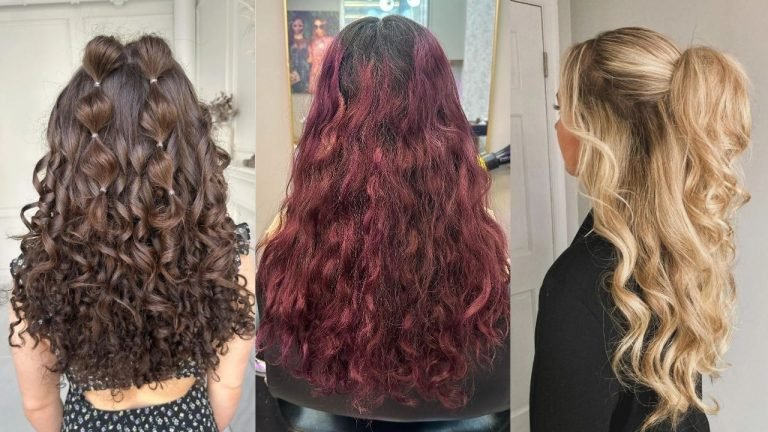
Half-Up Half-Down Curly Crown
The Perfect Balance of Effort and Elegance
This style deserves a standing ovation because it literally works for every occasion. Job interview? Check. Date night? Absolutely.
Sunday brunch? You bet. The half-up half-down style showcases your curls while keeping hair out of your face.
Start by determining your part – middle parts create symmetry while side parts add drama. Section off the top portion of your hair from temple to temple, creating that crown effect. The key is keeping the sectioning clean because messy parts ruin the whole look.
Here’s what elevates this basic style: the crown volume. Gently tease the roots of your crown section before securing it with a hair tie.
This creates that gorgeous lifted effect without looking like you time-traveled from the 80s. Add decorative pins or clips for extra fancy points.
Don’t forget about the hair you’re leaving down! Define those curls with your favorite cream or mousse. The contrast between the sleek pulled-back section and the free-flowing curls creates stunning dimension.
Pineapple Updo for Nighttime
Your Curls’ Overnight Bodyguard
Every curly girl needs to master the pineapple updo – it’s literally curl preservation 101. This style keeps your curls intact while you sleep, preventing that dreaded flat-on-one-side situation we all hate. The pineapple technique can extend your style for days without major touch-ups.
Position is everything with this style. Flip your head forward and gather your curls at the very top of your head – we’re talking unicorn horn placement.
Too low and you’ll create weird dents; too tight and you’ll stretch out your curl pattern. Use a silk scrunchie or loose hair tie to secure without causing damage.
For shorter hair that won’t reach the top, try the modified multi-pineapple approach. Create 2-3 smaller pineapples around your head. Sure, you’ll look a bit like a Dr. Seuss character, but your curls will thank you in the morning.
FYI, combining the pineapple with a satin bonnet or pillowcase doubles your protection. I learned this after destroying countless wash-and-go styles against my cotton pillowcase. Never again!
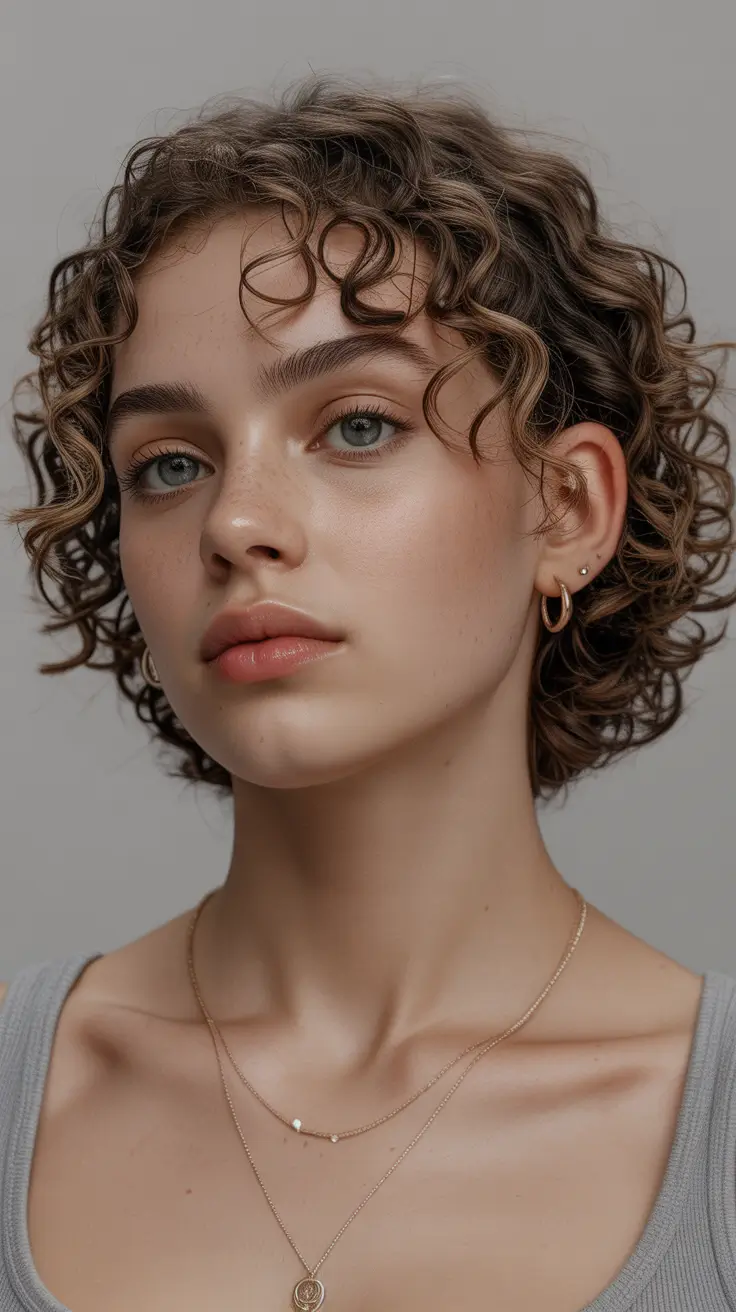
Finger-Coiled Short Curls
Precision Meets Perfection
Finger coils on short hair create that “every curl was placed by angels” look that stops people in their tracks. This technique works magic on TWA (teeny weeny afro) length hair and gives you defined curls that last up to a week.
The process requires patience – and I mean Buddhist monk levels of patience. Section your damp hair into tiny squares (think pencil eraser size).
Apply your styling product to each section, then wrap the hair around your finger from root to tip. The smaller the section, the longer your coils last.
Choose your products wisely for this style. You need something with hold but not too heavy – thick gels weigh down short hair and kill your volume. A mousse or light curl cream gives definition without the crunch or heaviness.
My personal trick? Work in front of Netflix because this process takes 2-3 hours minimum. But when you see those perfect spirals catching the light, you’ll forget all about your sore arms. The definition you get from finger coiling beats any other method IMO.
Curly Bob with Side Part
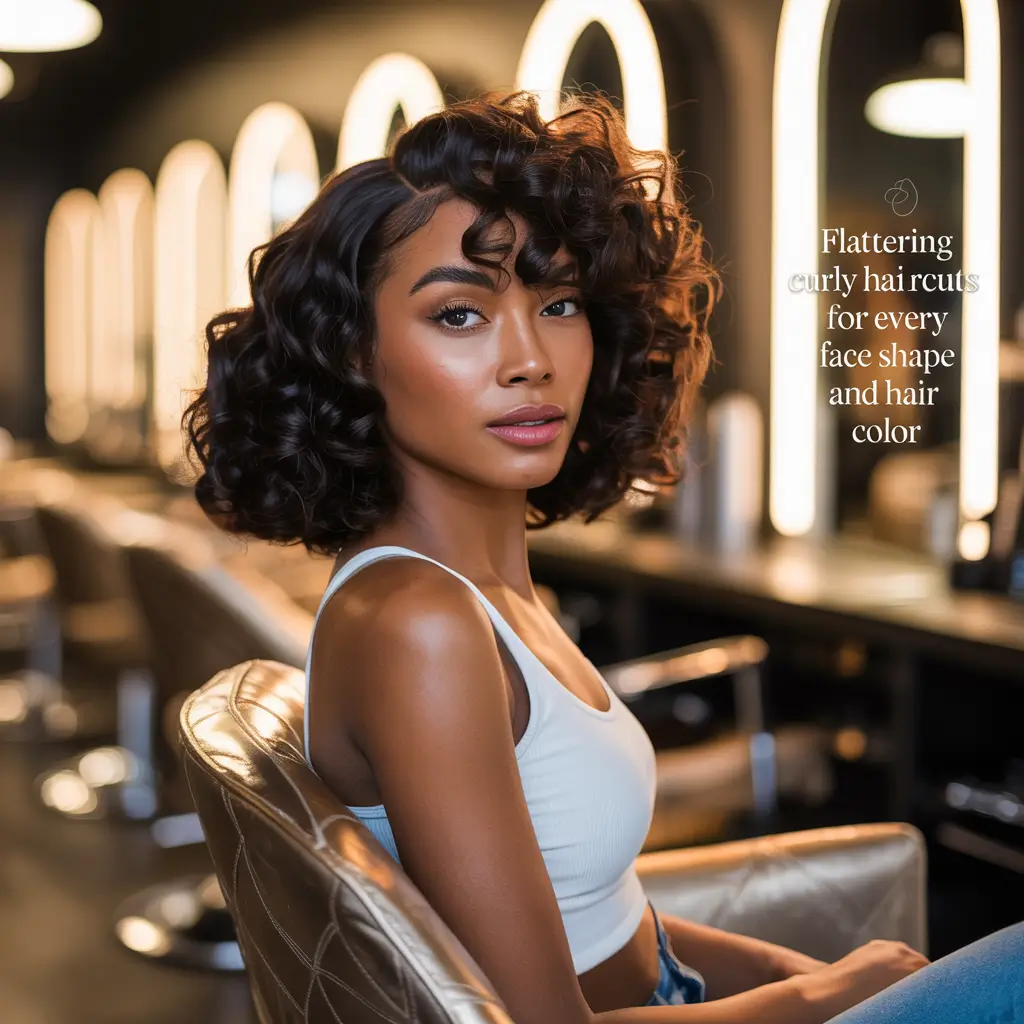
Classic with a Twist
The curly bob proves that short hair doesn’t mean boring hair. This style frames your face beautifully while showing off your natural texture. A well-cut curly bob requires minimal daily styling – music to any busy woman’s ears.
Getting the cut right changes everything. Find a stylist who cuts curly hair dry because wet cutting leads to surprises (rarely good ones). The length should hit somewhere between your chin and shoulders when your curls are dry and bouncy.
That side part adds instant sophistication. Create it while your hair is wet for the cleanest line, then clip the smaller section while your hair dries. This trains your curls to fall correctly. Use a rattail comb for precision – fingers create messy parts that look unintentional.
Maintaining the shape requires regular trims every 6-8 weeks. Curly bobs grow out quickly and lose their shape faster than straight bobs.
But the versatility makes it worthwhile – you can pin one side back, add accessories, or change your part for completely different looks.
Afro Puff with Braided Accents
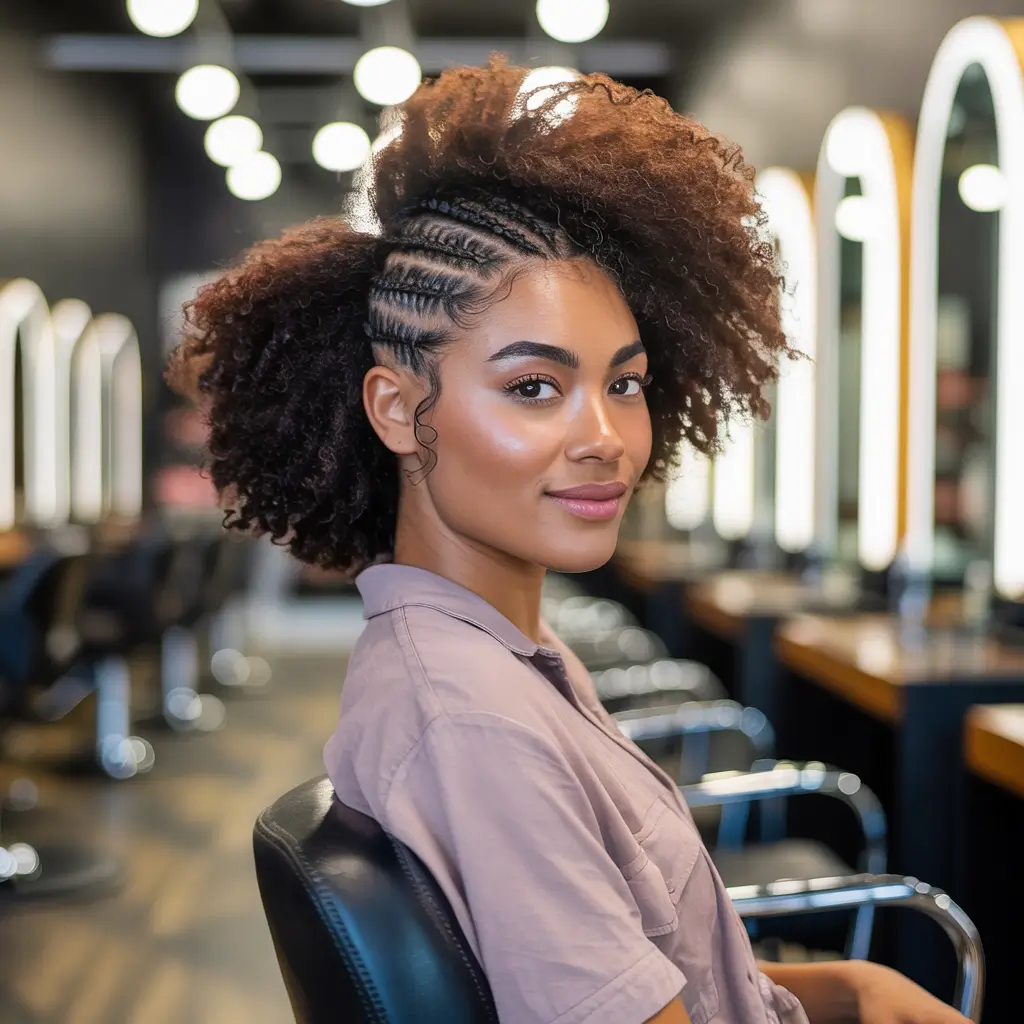
Traditional Meets Trendy
Why settle for a basic puff when you can add braided details that make people do double-takes? This style combines the ease of a puff with the intricacy of braids, giving you the best of both worlds.
Start by creating your braided accents first. Cornrow small sections along your hairline – maybe two on each side or create a braided headband effect across the front. Keep these braids tight and neat because they’re the focal point of your style.
The puff portion needs volume to balance those sleek braids. Stretch your hair using the banding method the night before, or do a quick blow-out on low heat. More volume in your puff creates better proportion with the braided elements.
Here’s what makes this style genius: the braids protect your edges while the puff shows off your texture. You get style longevity from the braids (they last about a week) while still being able to moisturize and style your puff daily.
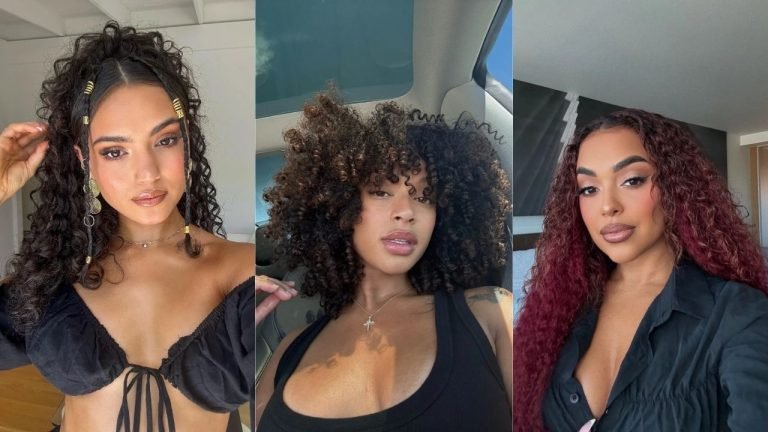
Curly Space Buns Playful Look
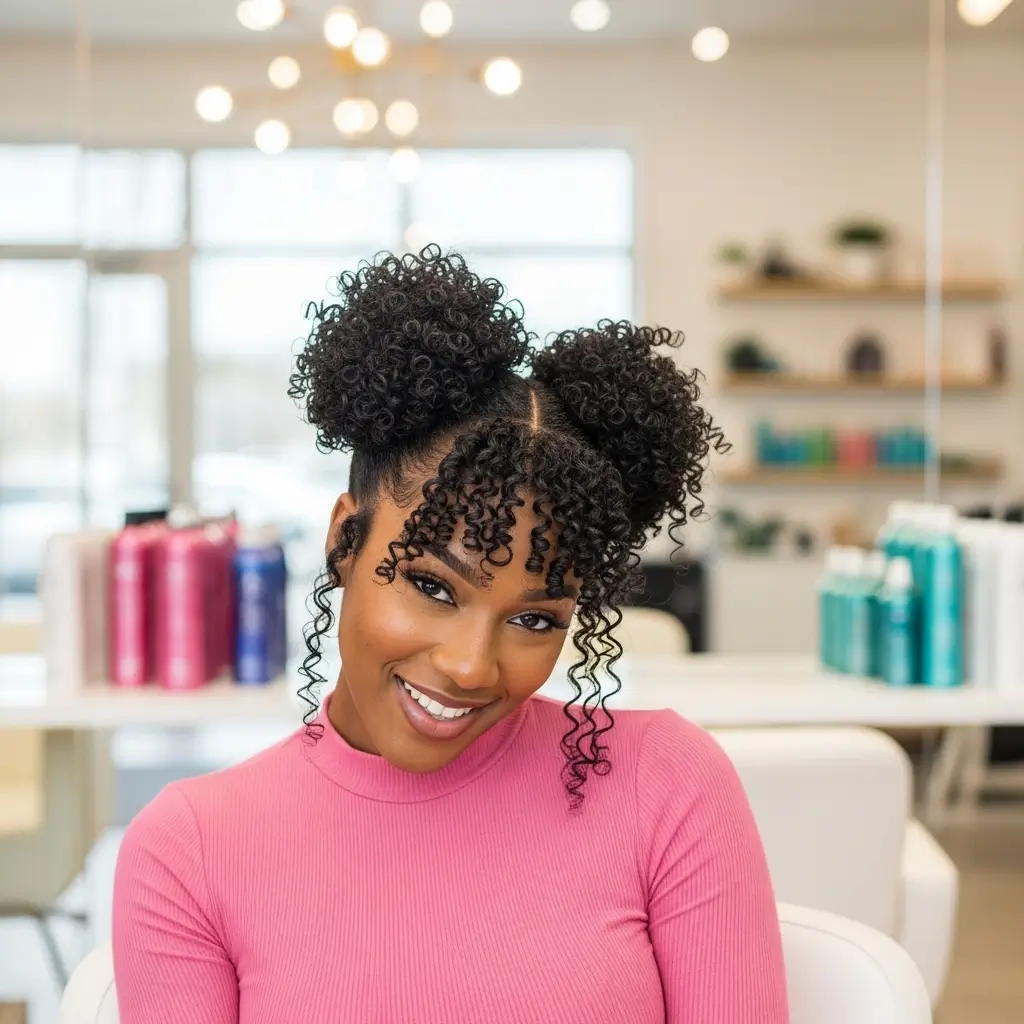
Channel Your Inner Festival Queen
Space buns on curly hair hit differently than on straight hair – they’re fuller, more textured, and honestly more fun. This playful style works for concerts, festivals, or when you want to feel like a carefree baddie.
The placement determines your vibe completely. High space buns near your crown give anime character energy.
Lower buns behind your ears create a softer, more wearable look. Part your hair straight down the middle for symmetry – crooked parts ruin the whole aesthetic.
Don’t try to make perfect buns – that’s not the point! Curly space buns should look effortless and slightly messy.
Secure each section with a hair tie, then pull out some pieces to create that purposefully undone texture. Too neat looks like you’re trying too hard.
My favorite twist? Leave some curls out in the front to frame your face. This softens the style and prevents that severe pulled-back look. Add glitter gel or colorful elastics when you really want to commit to the playful vibe :/
Low Curly Bun with Face-Framing Curls
Elegance Made Easy
This style makes you look expensive with minimal effort – and who doesn’t want that? The low curly bun works for formal events but doesn’t look out of place at Target either.
Creating the perfect low bun starts with texture. Don’t attempt this on freshly washed hair unless you want frustration.
Day 2 or 3 hair has the perfect amount of grip. Gather your hair at the nape of your neck, but keep it loose enough to maintain volume at your crown.
Those face-framing pieces make all the difference. Pull out a few curls before securing your bun – trying to do it after never looks natural. Define these pieces with extra product so they don’t frizz throughout the day.
The bun itself shouldn’t be perfect. Twist your ponytail loosely, wrap it around the base, and secure with bobby pins.
Let some pieces stick out naturally for that effortlessly chic vibe. This style literally takes five minutes but makes you look like you have your life together.
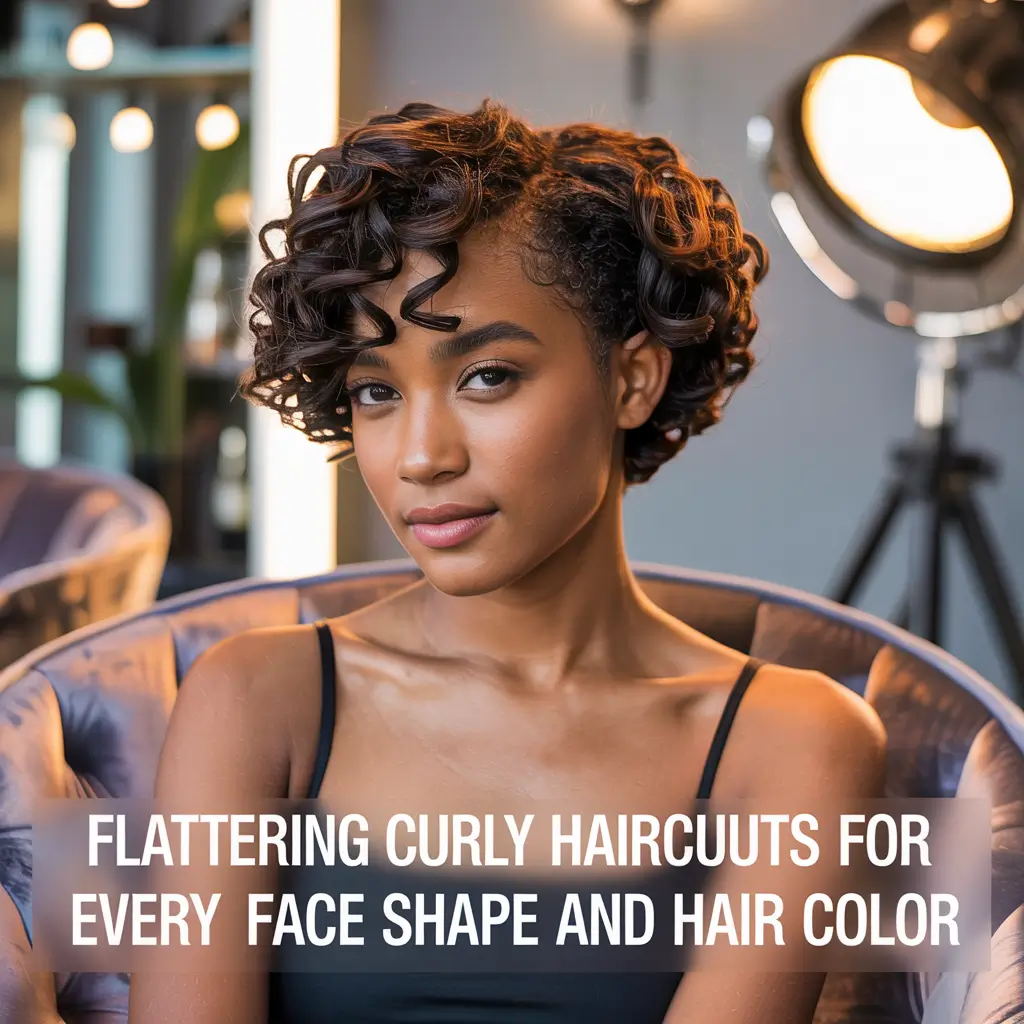
Curly Pixie Cut with Tapered Nape
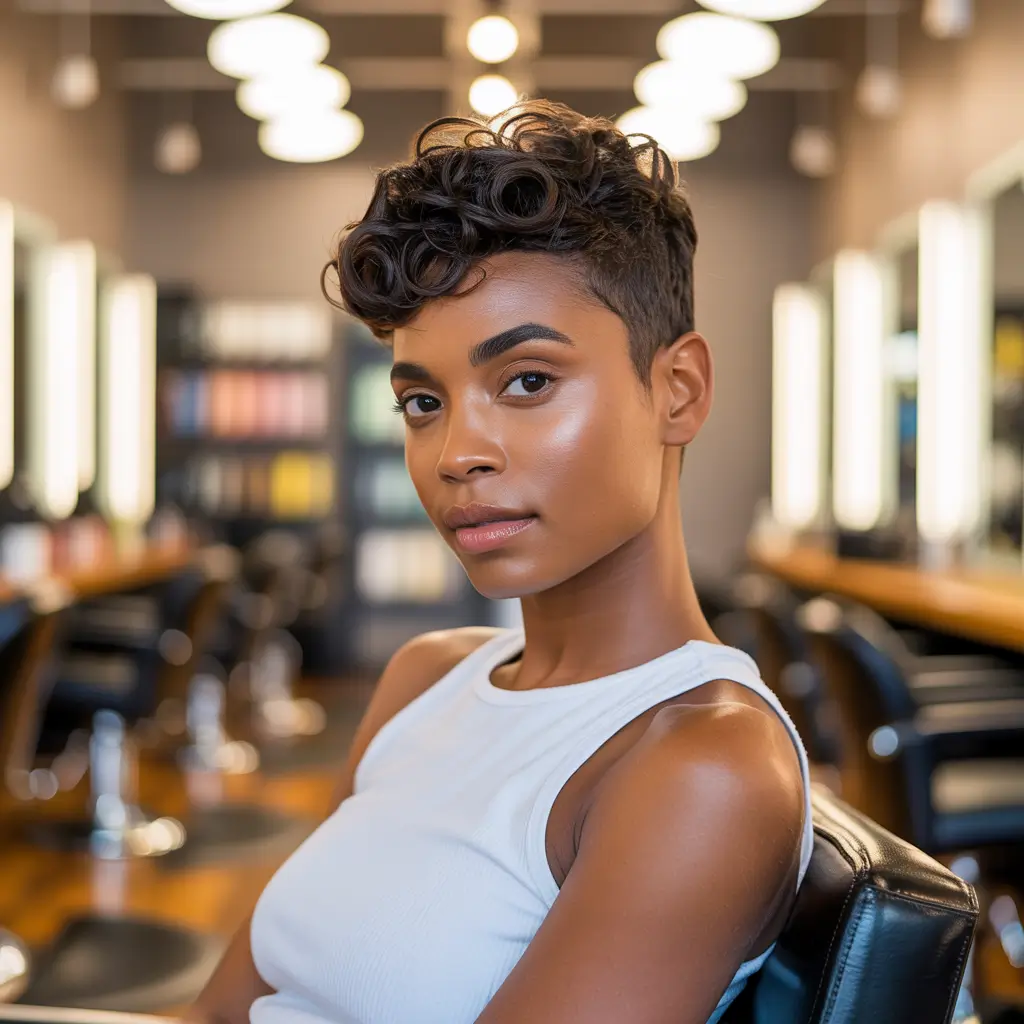
Short, Sassy, and Sophisticated
The curly pixie proves that big things come in small packages. This cut showcases your facial features while requiring minimal styling time – perfect for busy women who still want to look fierce.
The key to a great curly pixie lies in the layering. You need shorter layers underneath to prevent the triangle shape that haunts curly girls’ dreams.
The top should have enough length to show your curl pattern while the sides and back stay cropped close.
Styling products become your best friends with this cut. A lightweight mousse or foam gives definition without weighing down your shorter curls. Apply to soaking wet hair, then either air dry or diffuse depending on how much volume you want.
The tapered nape requires maintenance every 3-4 weeks to keep looking sharp. But here’s the beauty – you can switch up your styling completely.
Slick it down for a sleek look, pick it out for volume, or define your curls for texture. One cut, endless possibilities.
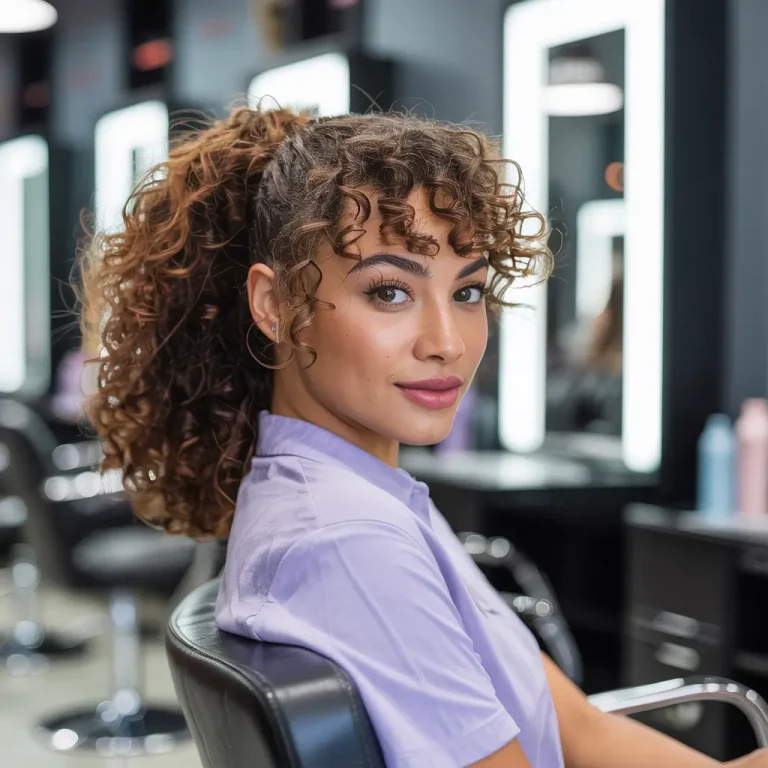
Spiral Curly Ponytail with Volume
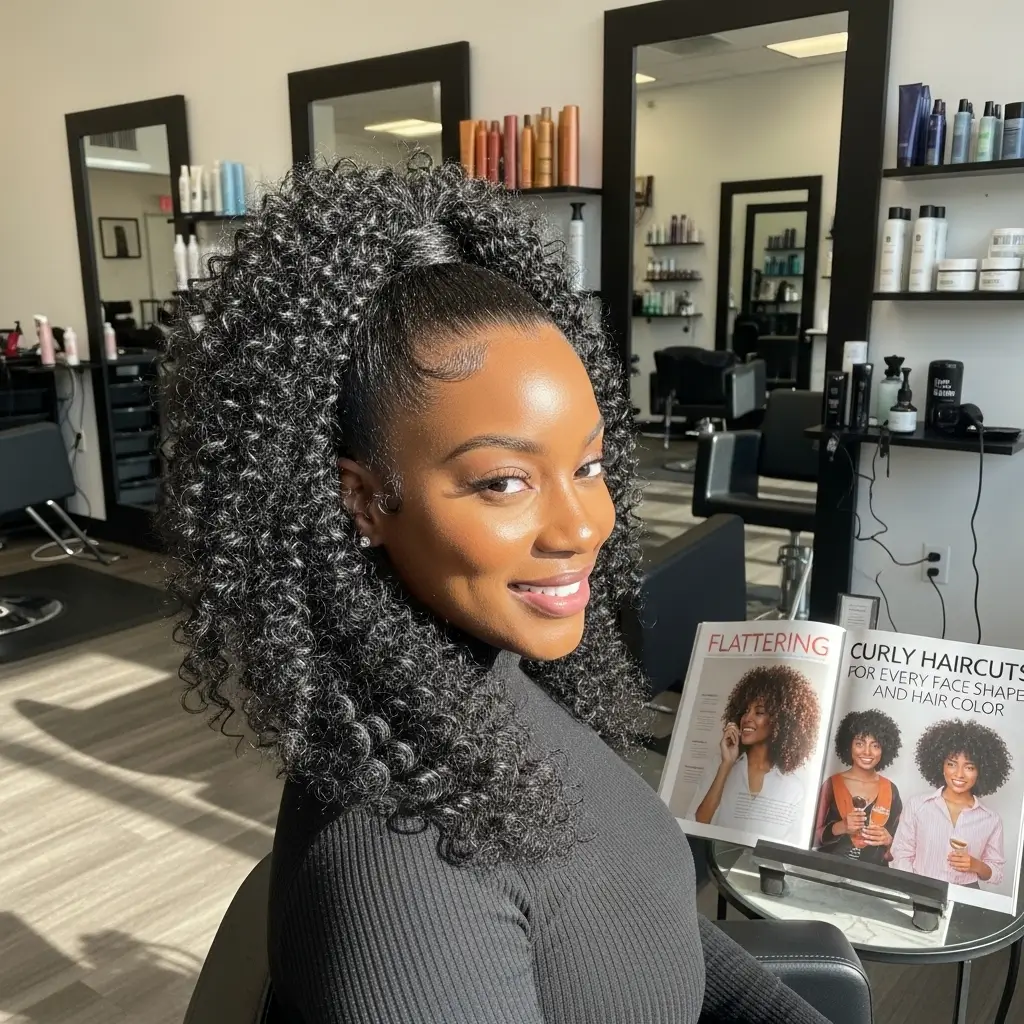
The Ponytail That Means Business
Forget those sad, flat ponytails – we’re creating a spiral curly ponytail that commands attention. This style combines practicality with stunning visual impact, perfect for when you need your hair up but still want to serve looks.
Volume at the crown separates average ponytails from amazing ones. Before pulling your hair back, flip your head upside down and shake your roots.
This creates natural lift that lasts all day. Secure your ponytail higher than feels natural – it’ll drop slightly throughout the day.
The spiral effect comes from strategic curl definition. Once your ponytail is secured, separate your curls into smaller spirals using a bit of oil on your fingers. This prevents frizz while creating those gorgeous ribbon-like spirals that bounce when you walk.
Add a hair wrap around the base for instant elevation. Take a small section of hair from your ponytail and wrap it around the elastic, securing with a bobby pin underneath. This small detail makes your style look intentional rather than thrown together.
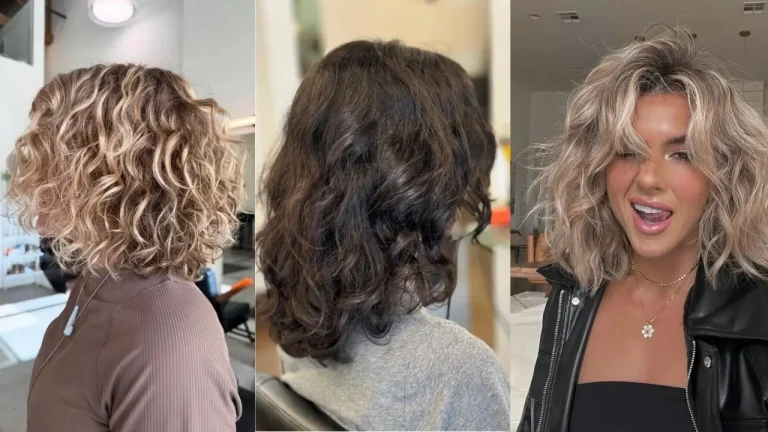
Layered Mid-Length Curly Shag
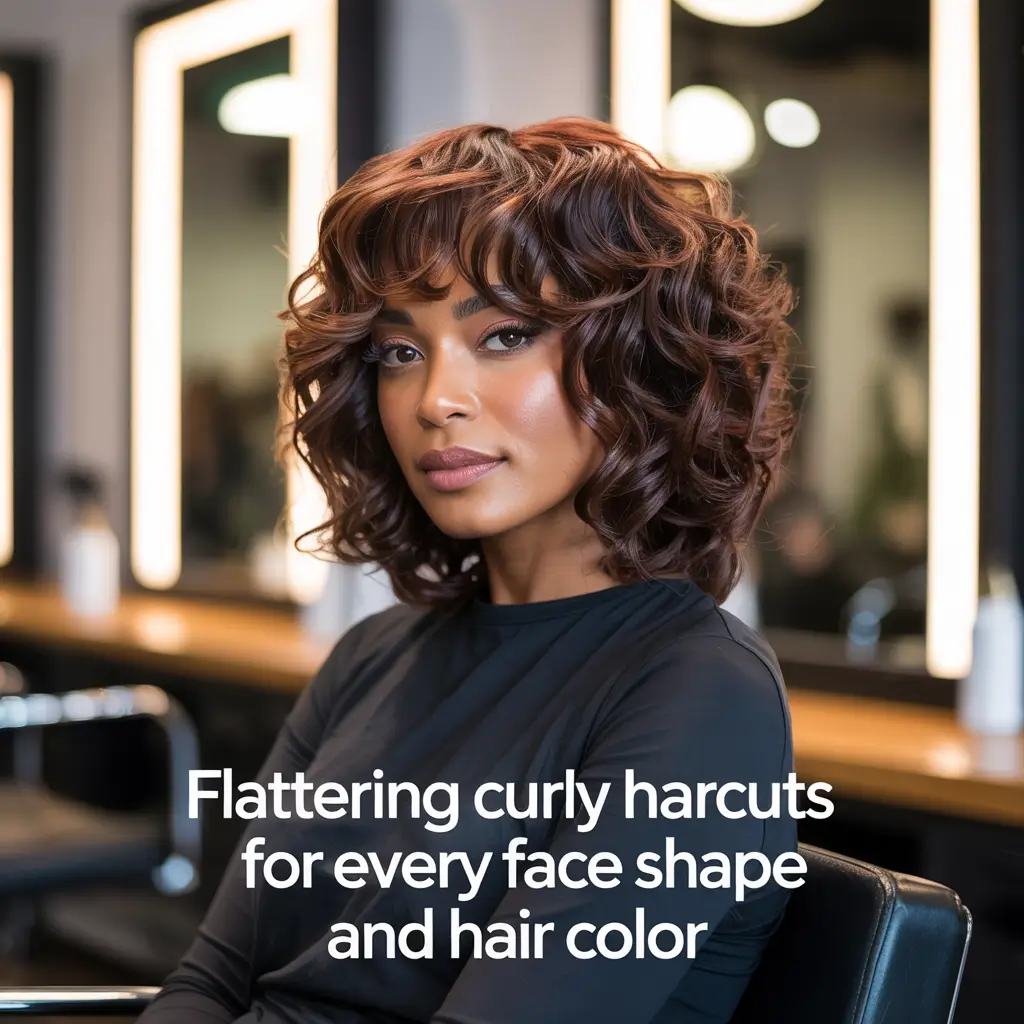
The Retro Style That Never Gets Old
The curly shag is having a moment, and honestly, it deserves all the hype. This cut adds movement and dimension to curls while giving you that effortlessly cool vibe everyone wants.
Layers are everything with this cut. You need shorter layers throughout to create that signature shaggy texture.
But here’s the catch – too many layers on curly hair create frizz, so you need a stylist who understands the balance. The longest layer should hit around your shoulders for that perfect mid-length look.
Styling the curly shag requires embracing imperfection. This isn’t meant to look polished or perfectly defined. Use a curl cream for moisture, then scrunch in some mousse for hold and volume. The goal is piece-y, textured curls that move freely.
The best part about this cut? It grows out beautifully. Unlike precise bobs or pixies that need constant maintenance, the shag actually looks better as it grows. You can go 3-4 months between cuts and still look intentionally styled.
Final Thoughts
After trying every single one of these styles (yes, even the pixie cut during my brave phase), I can tell you that the best curly hairstyle is the one that makes YOU feel amazing.
Your hair journey is exactly that – yours. These styles give you options, but how you rock them makes them special.
Remember when everyone said natural hair was limiting? Look at us now with fifteen different ways to slay!
Whether you’re team wash-and-go or devoted to your twist-outs, embracing your natural texture opens up a world of styling possibilities. The key is finding what works for your lifestyle, curl pattern, and personal style.
So which style are you trying first? Whatever you choose, wear it with confidence because that’s the best accessory any style can have. Your curls are beautiful, versatile, and uniquely yours – time to show them off!